
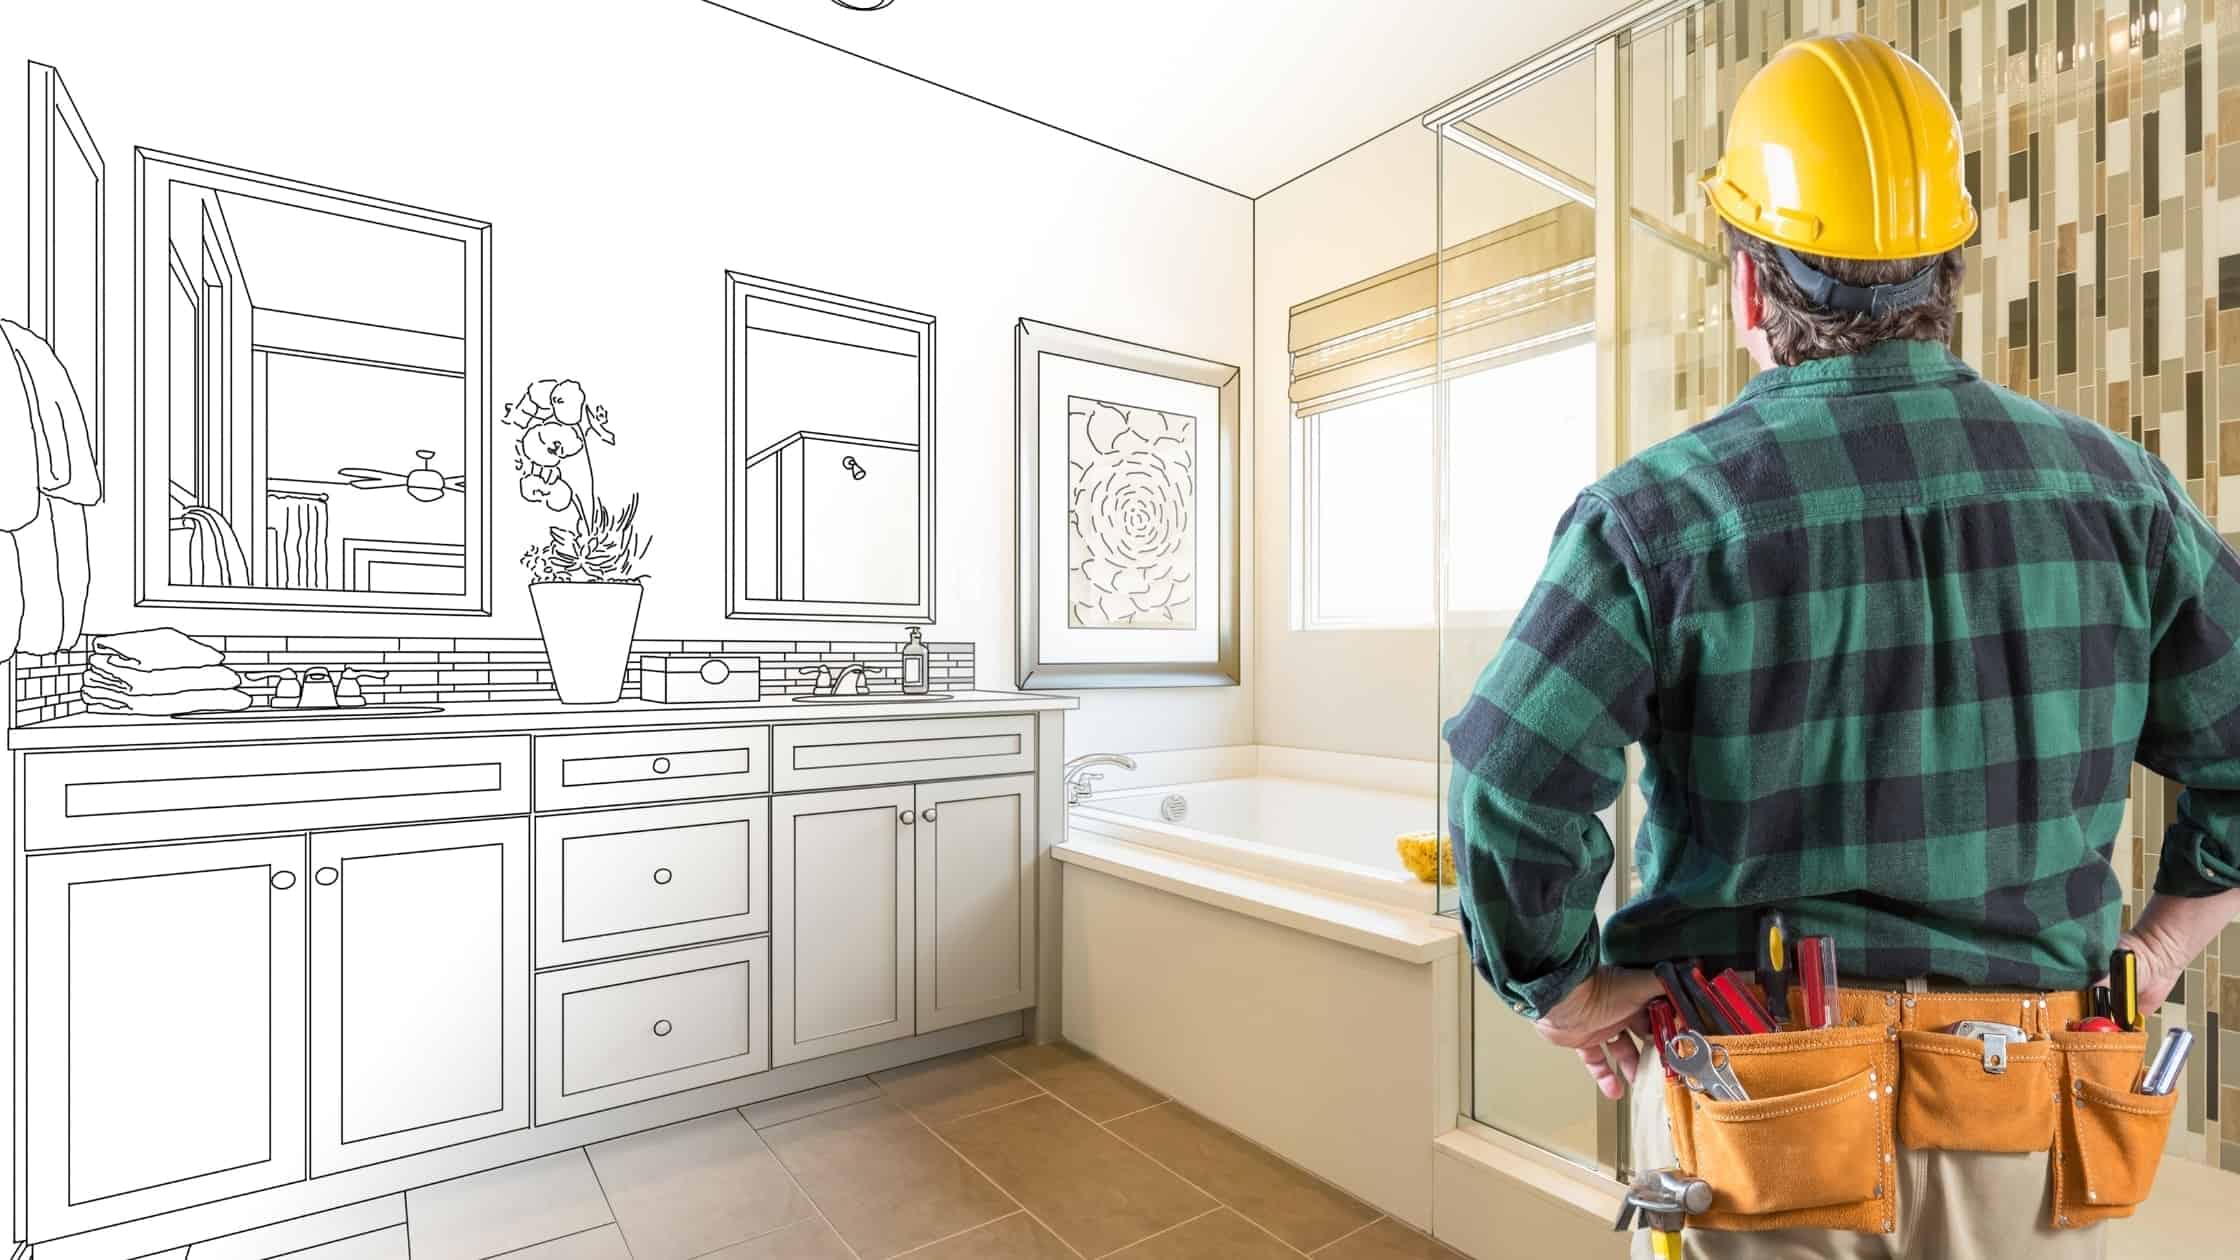
The tub to shower conversion process transforms your existing bathtub into a functional walk in shower through a series of carefully coordinated steps that typically take 2-5 days to complete. Professional contractors handle everything from demolition and plumbing modifications to waterproofing and installation, creating a modern bathroom that meets your accessibility and design goals.
Many homeowners hesitate to start a bath remodel because they worry about extended construction timelines, unexpected costs, or disruption to their daily routines. Understanding what happens at each stage of a tub to shower conversion helps you prepare appropriately and set realistic expectations. Quality contractors maintain clean work areas, communicate progress clearly, and complete the installation efficiently while ensuring every detail meets professional standards.
The conversion process varies based on your bathroom layout, desired style, and whether you choose a basic conversion kit or custom tile installation. However, the fundamental steps remain consistent: assessment and planning, demolition, structural preparation, waterproofing, installation of the shower base and walls, plumbing fixture integration, and finishing touches. Each phase builds on the previous work to create a durable, attractive shower space that serves your household for decades.
This guide walks through the complete tub to shower conversion process so you know exactly what to expect from start to finish. Whether you’re converting a bathtub for accessibility features, updating the aesthetic appeal of your bathroom, or maximizing space in smaller bathrooms, understanding the process helps you work effectively with your contractor and achieve the dream bathroom you envision.
What Happens During the Initial Consultation for Your Tub to Shower Conversion?
The first step in any successful bath remodel begins with a thorough consultation and assessment. Professional contractors visit your home to evaluate your existing plumbing, bathroom layout, and structural conditions that impact the conversion. This evaluation identifies potential challenges like outdated pipes, inadequate floor support, or water damage that requires attention before installation begins.
During this consultation, you discuss your goals for the new shower, including accessibility features like grab bars and non slip flooring, design preferences such as frameless glass or built in niches, and budget considerations. The contractor takes precise measurements of your shower space and explains options for shower base configurations, wall materials, and fixture selections that work within your parameters. Many companies offer a free consultation to assess your project and provide detailed estimates.
Did you know? Accurate measurements during the consultation prevent costly delays later. Even a quarter-inch error can create fitting issues with pre-fabricated units.
This planning phase establishes clear expectations about timelines, cost factors, and what preparation you need to complete before work begins. Professional contractors provide written estimates that break down labor costs, materials, and any additional features you select. Understanding these details upfront helps you make informed decisions and budget appropriately for your conversion.
How Long Does a Shower Conversion Take From Start to Finish?
The timeline for converting a bathtub to a walk in shower depends on several factors including the complexity of your project, material choices, and whether structural modifications are needed. Basic conversions using pre-fabricated acrylic or fiberglass units typically take 2-3 days when existing plumbing requires minimal changes. Custom tile installations need 4-7 days to accommodate proper waterproofing cure times and grouting processes.
Factors that influence conversion timelines:
- Extent of demolition required
- Condition of existing plumbing and water supply lines
- Structural repairs or reinforcement needs
- Custom tile work versus pre-fabricated systems
- Accessibility modifications like curbless entry
- Additional features such as built in seating or storage niches
Quality contractors schedule work to minimize disruption while never rushing critical steps like waterproofing that determine long-term performance. They communicate schedule updates proactively and explain any adjustments needed when they discover unexpected conditions behind walls. According to the National Kitchen & Bath Association, proper planning and experienced installation significantly reduce the likelihood of delays or complications during bath remodels.
Quick tip: Arrange alternative bathing facilities before your conversion begins. Even efficient installations leave your bathroom temporarily unusable.
Preparing Your Bathroom for a Tub to Shower Remodel
Before demolition begins, homeowners should remove personal items, medications, and toiletries from the bathroom. Clear towels, bath mats, and decorative accessories to prevent damage from dust and debris. Professional contractors typically protect adjacent areas with plastic sheeting and establish dust barriers to contain mess within the work zone.
Quality remodeling companies prioritize cleanliness throughout the process. They use careful demolition techniques that minimize damage to surrounding walls and floors, remove debris promptly, and vacuum thoroughly at the end of each workday. This attention to detail maintains a more comfortable environment for your household and demonstrates professionalism.
Some contractors handle all preparation work themselves, while others request that homeowners complete specific tasks beforehand. Clarify these expectations during your consultation to avoid delays when work begins. Understanding your role in the process helps the installation proceed smoothly and efficiently.
What Happens During the Demolition Phase of Your Shower Conversion?
Demolition begins the physical transformation of your bathroom. Contractors carefully remove the existing bathtub, surrounding walls, and any fixtures that won’t be reused. This process reveals the underlying structure, plumbing configuration, and any hidden issues that need attention before moving forward with installation.
Experienced professionals remove materials systematically to assess the condition of wall studs, floor joists, and moisture barriers. They identify any mold, water damage, or structural concerns that require remediation. Addressing these issues during demolition prevents future problems and ensures a solid foundation for your new shower.
The demolition phase also involves removing old caulk, adhesives, and any deteriorated materials. Clean surfaces allow proper adhesion of new waterproofing membranes and installation materials. This preparation work directly impacts the quality and longevity of your finished shower space.
How Are Plumbing and Structural Modifications Handled?
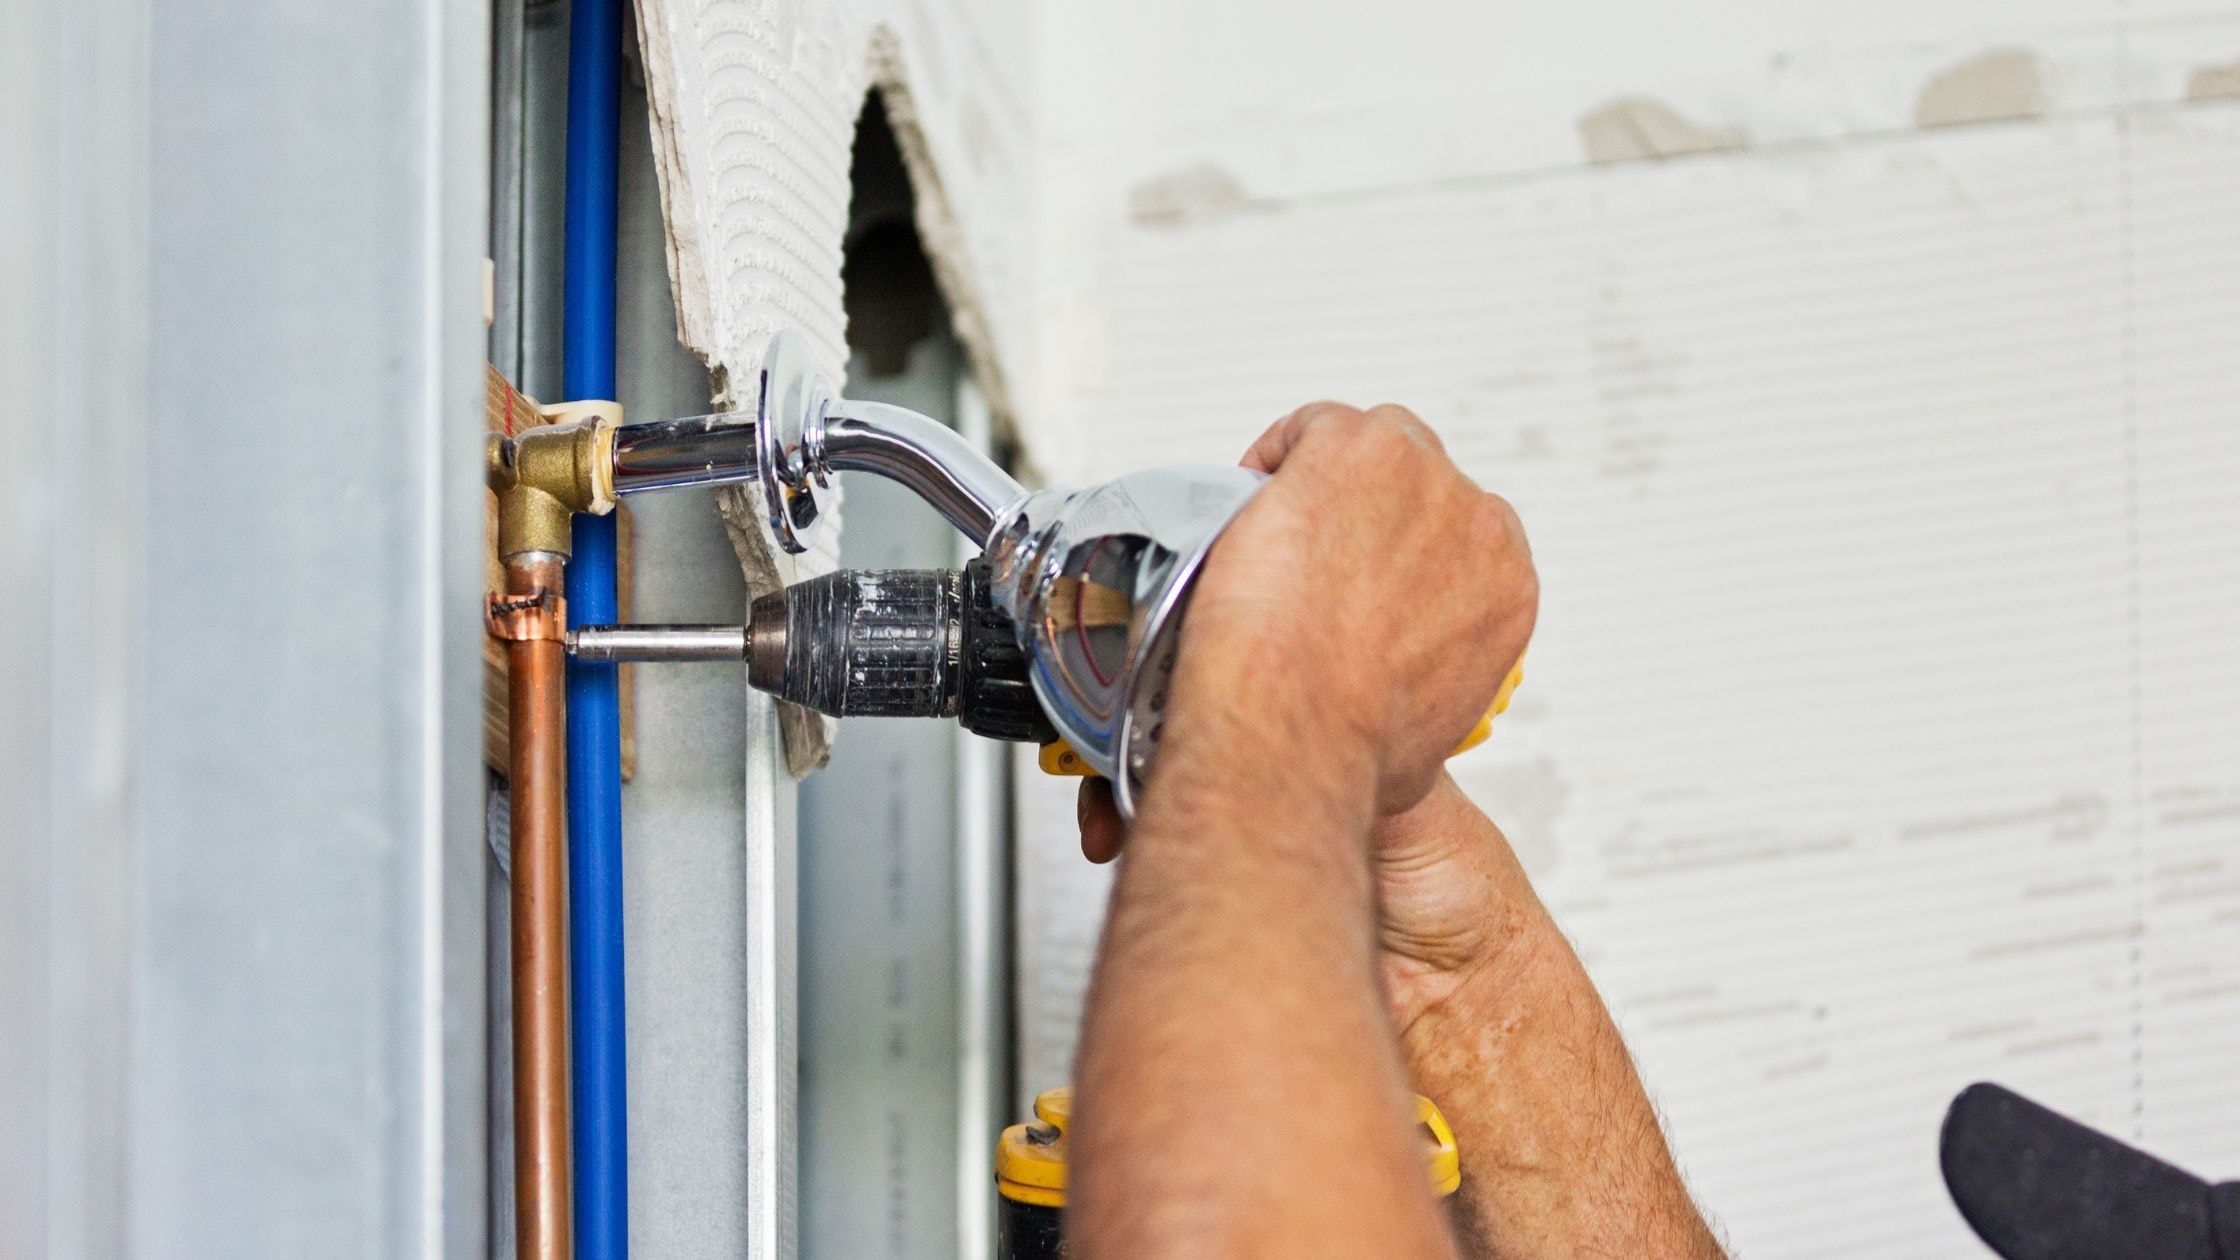
After demolition, contractors address necessary plumbing modifications. Converting from a tub to a walk in shower often requires relocating the drain, adjusting water supply lines, and potentially upgrading fixtures. Modern installations may include rainfall showerheads, handheld spray units, or thermostatic mixing valves for enhanced safety and convenience.
Structural modifications might include reinforcing walls for grab bars, adjusting floor height for proper shower pan drainage, or creating access panels for future plumbing maintenance. These behind-the-scenes details ensure your conversion meets building codes and functions reliably. Professional contractors handle all required permits and inspections, managing the technical requirements so you don’t have to navigate building department processes yourself.
Quick tip: Request blocking for grab bars even if you don’t install them immediately. Adding reinforcement during construction costs far less than retrofitting later.
Why Is Waterproofing the Most Critical Step in Your New Shower Installation?
Waterproofing creates the protective barrier that prevents water from damaging your home’s structure. This essential phase involves applying moisture-resistant membranes to walls and floors, carefully sealing corners and penetrations, and creating a watertight envelope around your shower area. According to industry standards, proper waterproofing extends at least 6 inches beyond the shower walls and covers all areas exposed to direct water spray.
Quality contractors use multiple layers of protection including waterproof backer board, liquid membranes or sheet membranes in critical areas, and properly sloped shower pans that direct water toward the drain. They pay particular attention to corners, changes in plane, and areas where walls meet floors since these transitions are most vulnerable to water intrusion. Learn more about why waterproofing is the most important part of a shower remodel to understand how this crucial step protects your investment.
Cutting corners on waterproofing to save time or cost leads to expensive problems later. Water that penetrates behind shower walls causes mold growth, structural rot, and deterioration that requires extensive remediation. Investing in thorough waterproofing during initial installation prevents these issues and ensures your conversion lasts for decades.
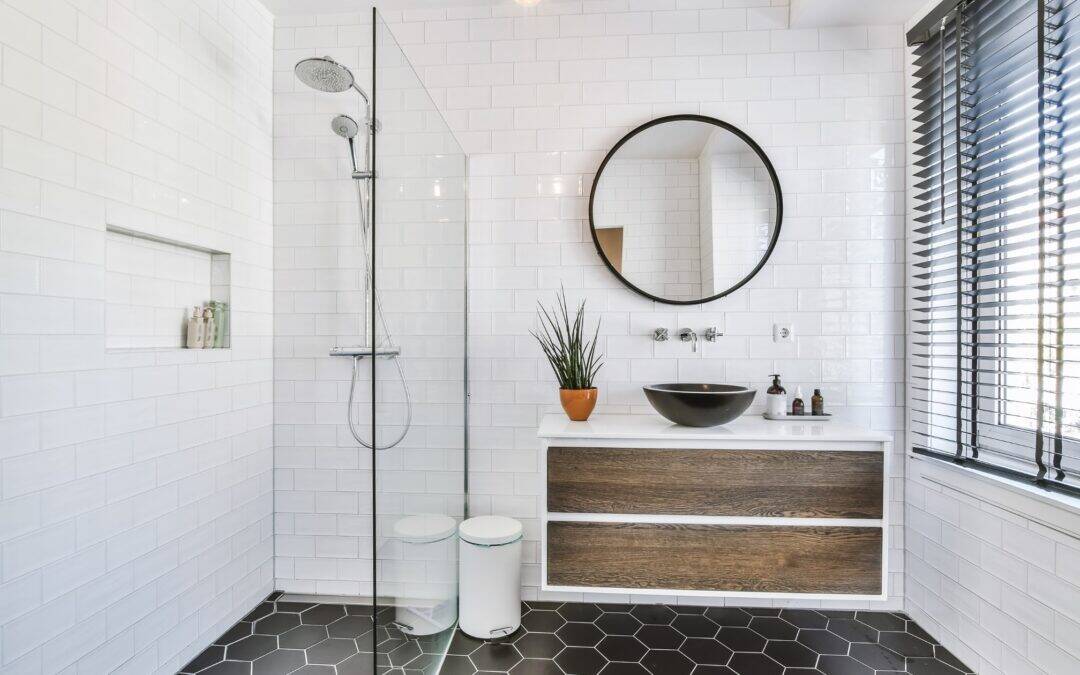
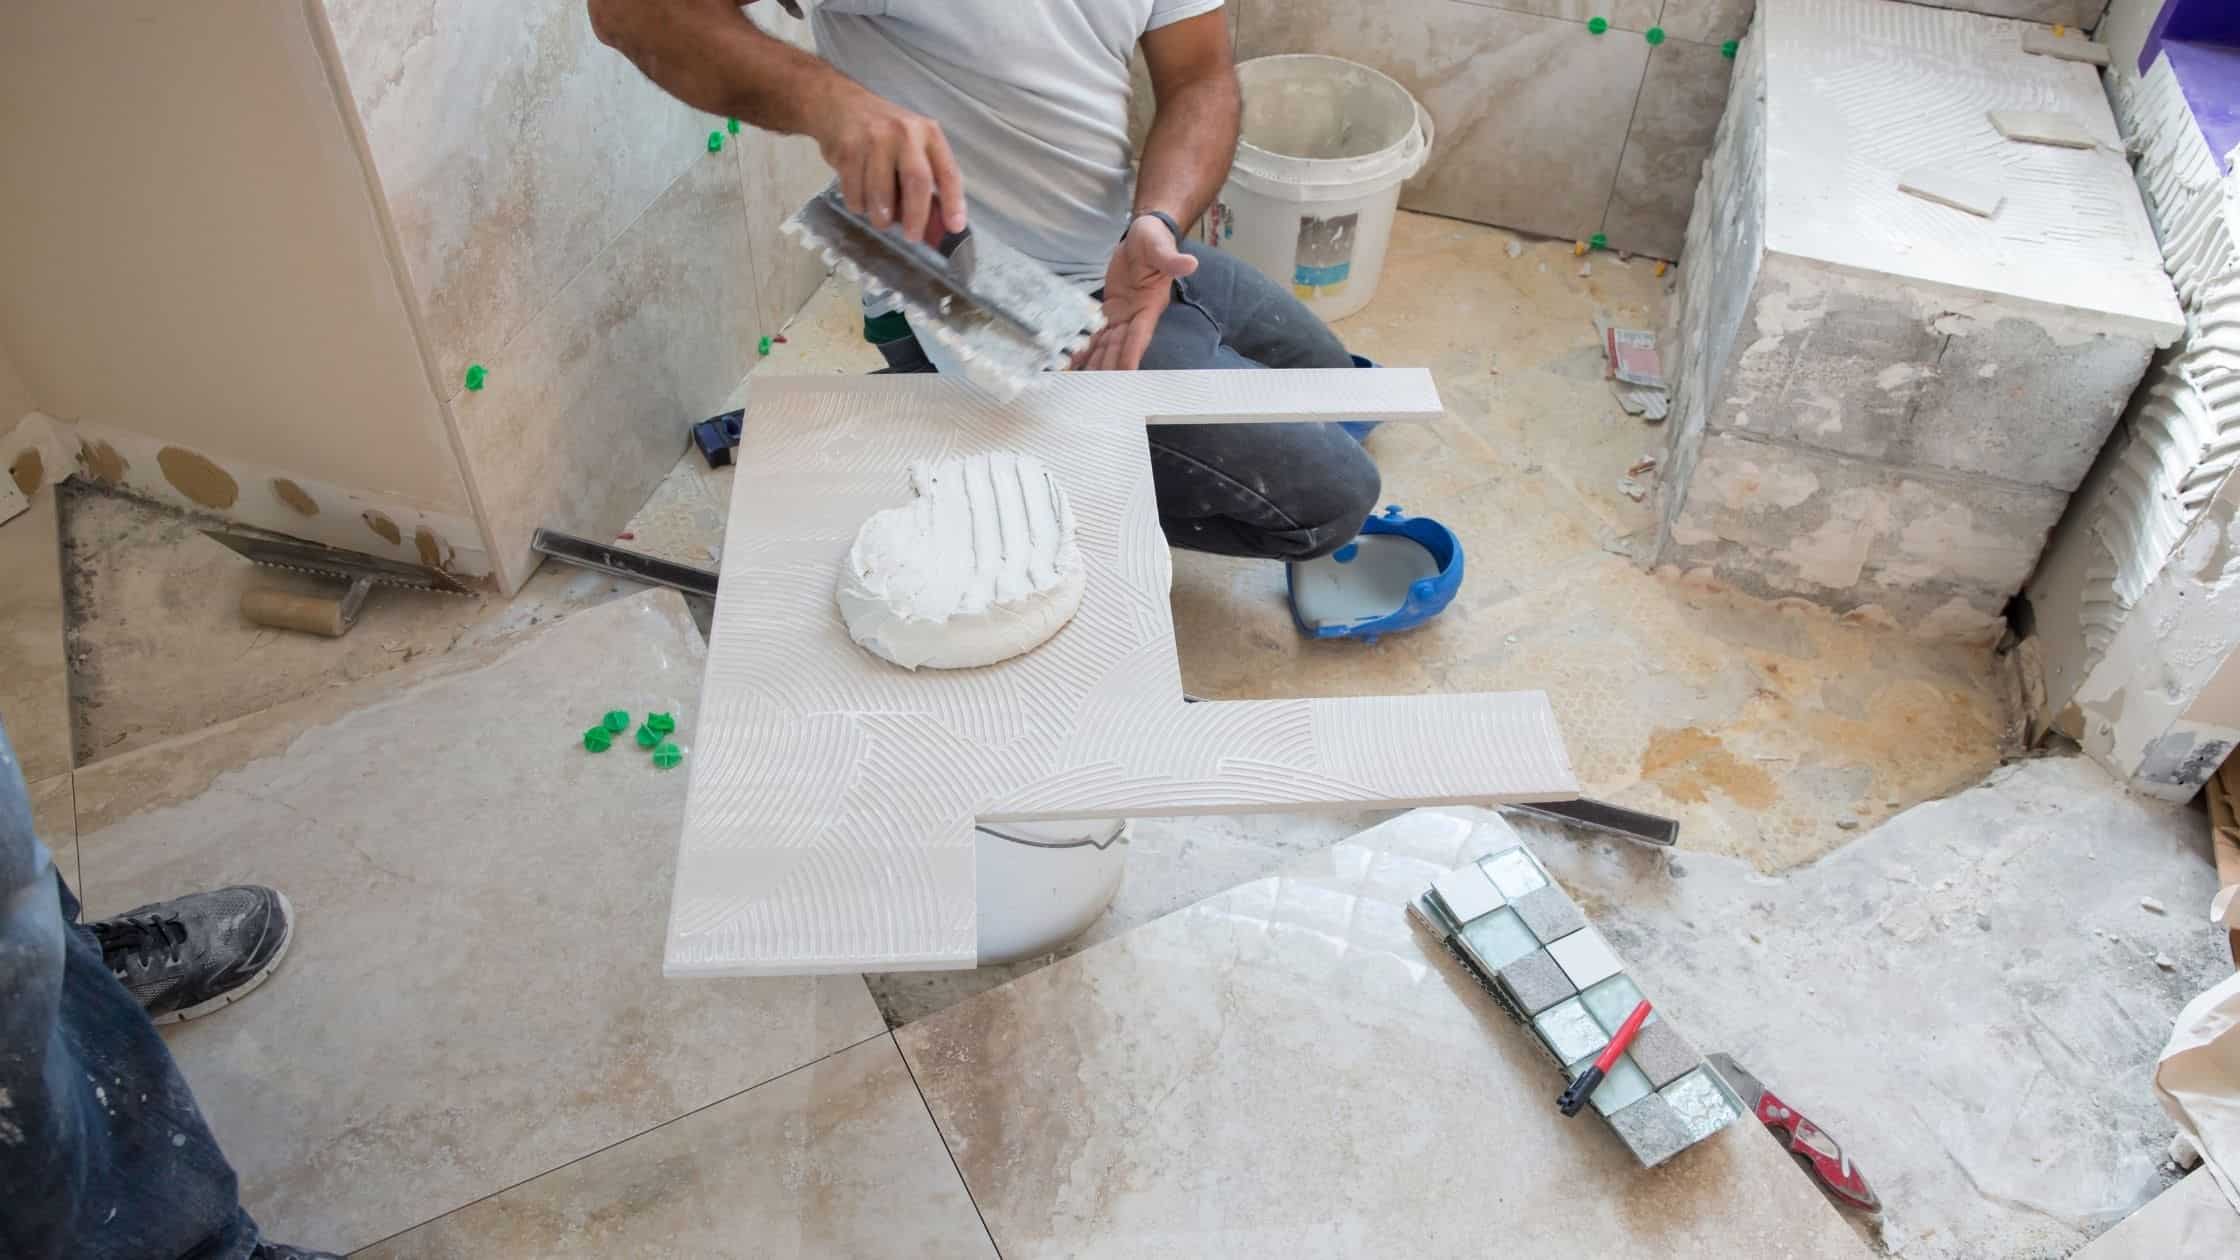
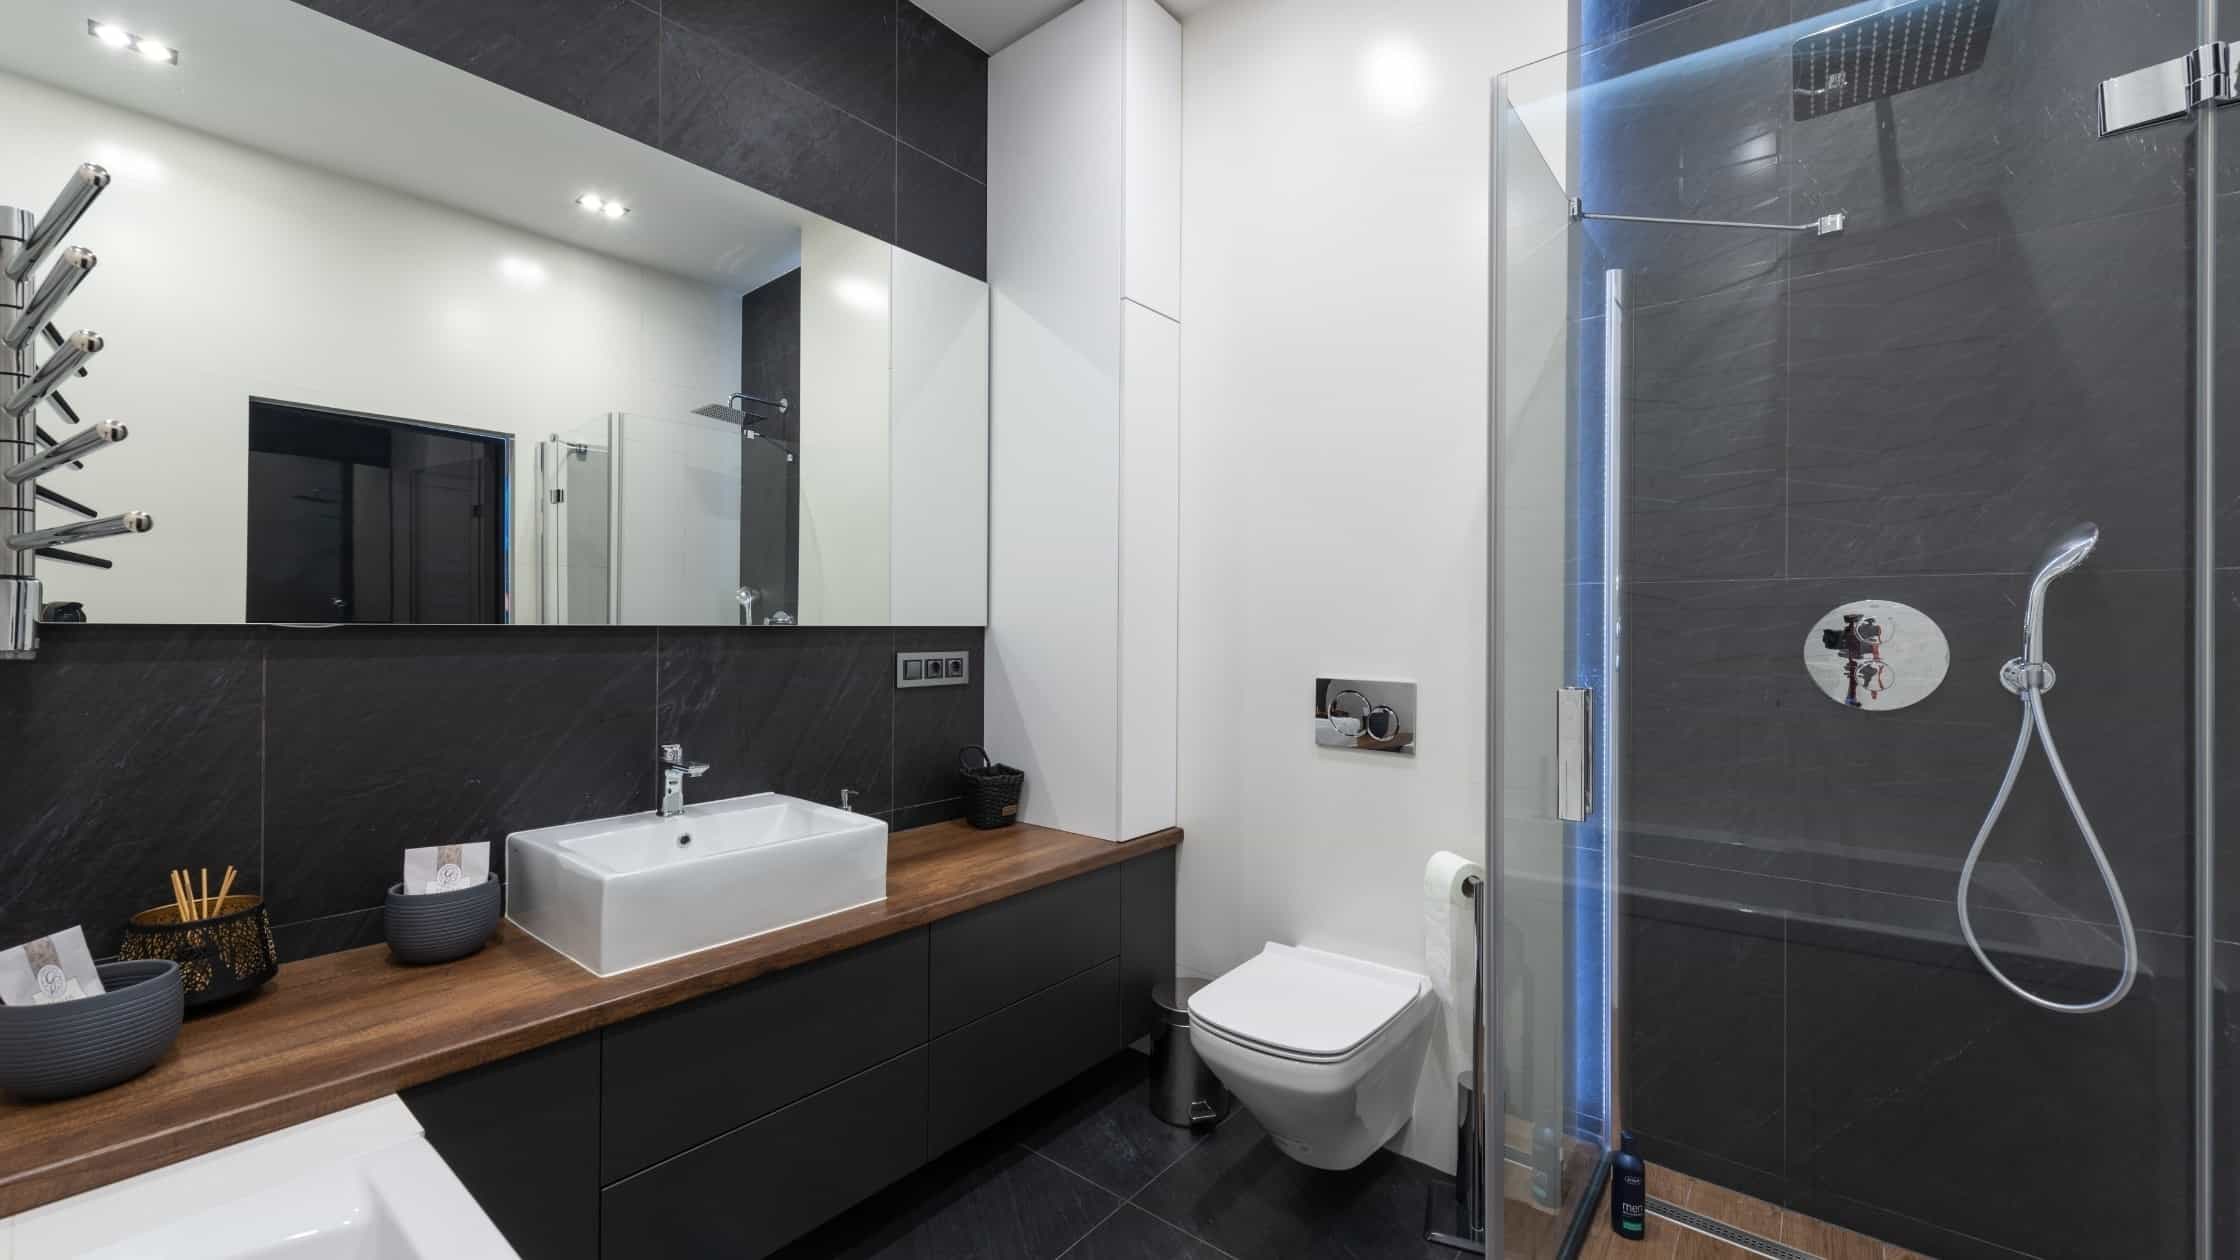
Installing the Shower Base and Walls for a Modern Aesthetic

Once waterproofing is complete and properly cured, contractors install the shower base and walls. Pre-fabricated units arrive as complete systems that include the pan, wall panels, and trim pieces custom fitted to your space. These engineered products offer consistency, durability, and relatively quick installation while delivering the sleek, modern design many homeowners want.
Custom tile installations provide maximum flexibility for creating your desired style. Contractors build the shower base using mortar beds or pre-formed bases, then install cement board or other tile backing. They carefully set tiles to create the bathroom feel you envision, whether that’s subway tiles for classic appeal, large format porcelain for a contemporary look, or natural stone for organic elegance.
Wall installation proceeds systematically from the shower base upward. Contractors ensure proper spacing, level installation, and secure attachment that can support the weight of fixtures and withstand daily use. Quality materials and precise installation techniques create walls that resist moisture, maintain their appearance, and provide the structural integrity your shower requires.
Adding Fixtures, Features, and Finishing Touches to Your Walk In Shower
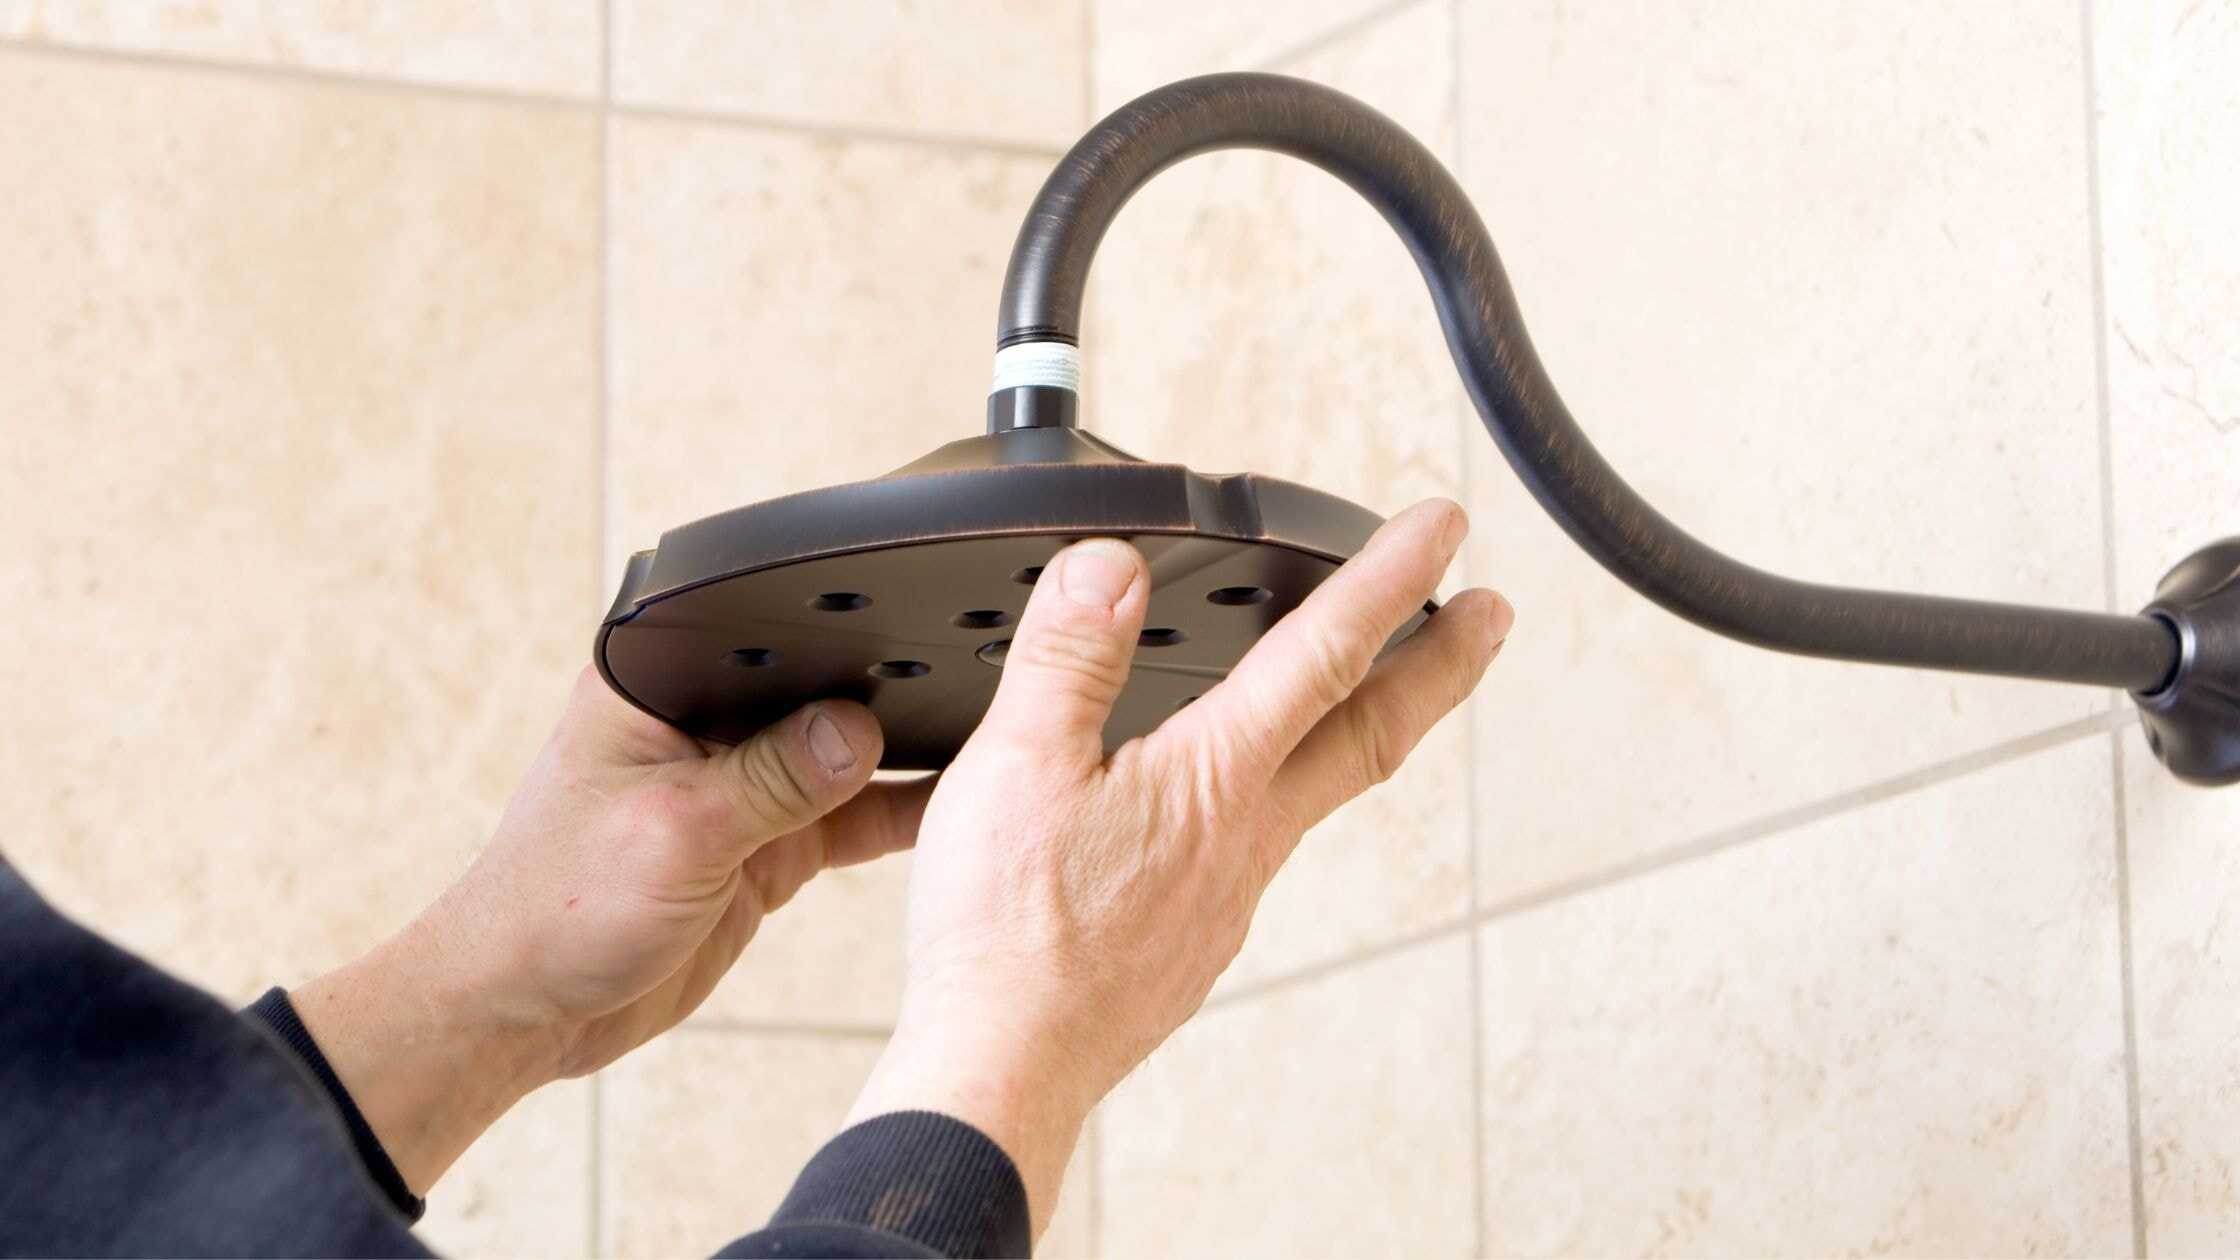
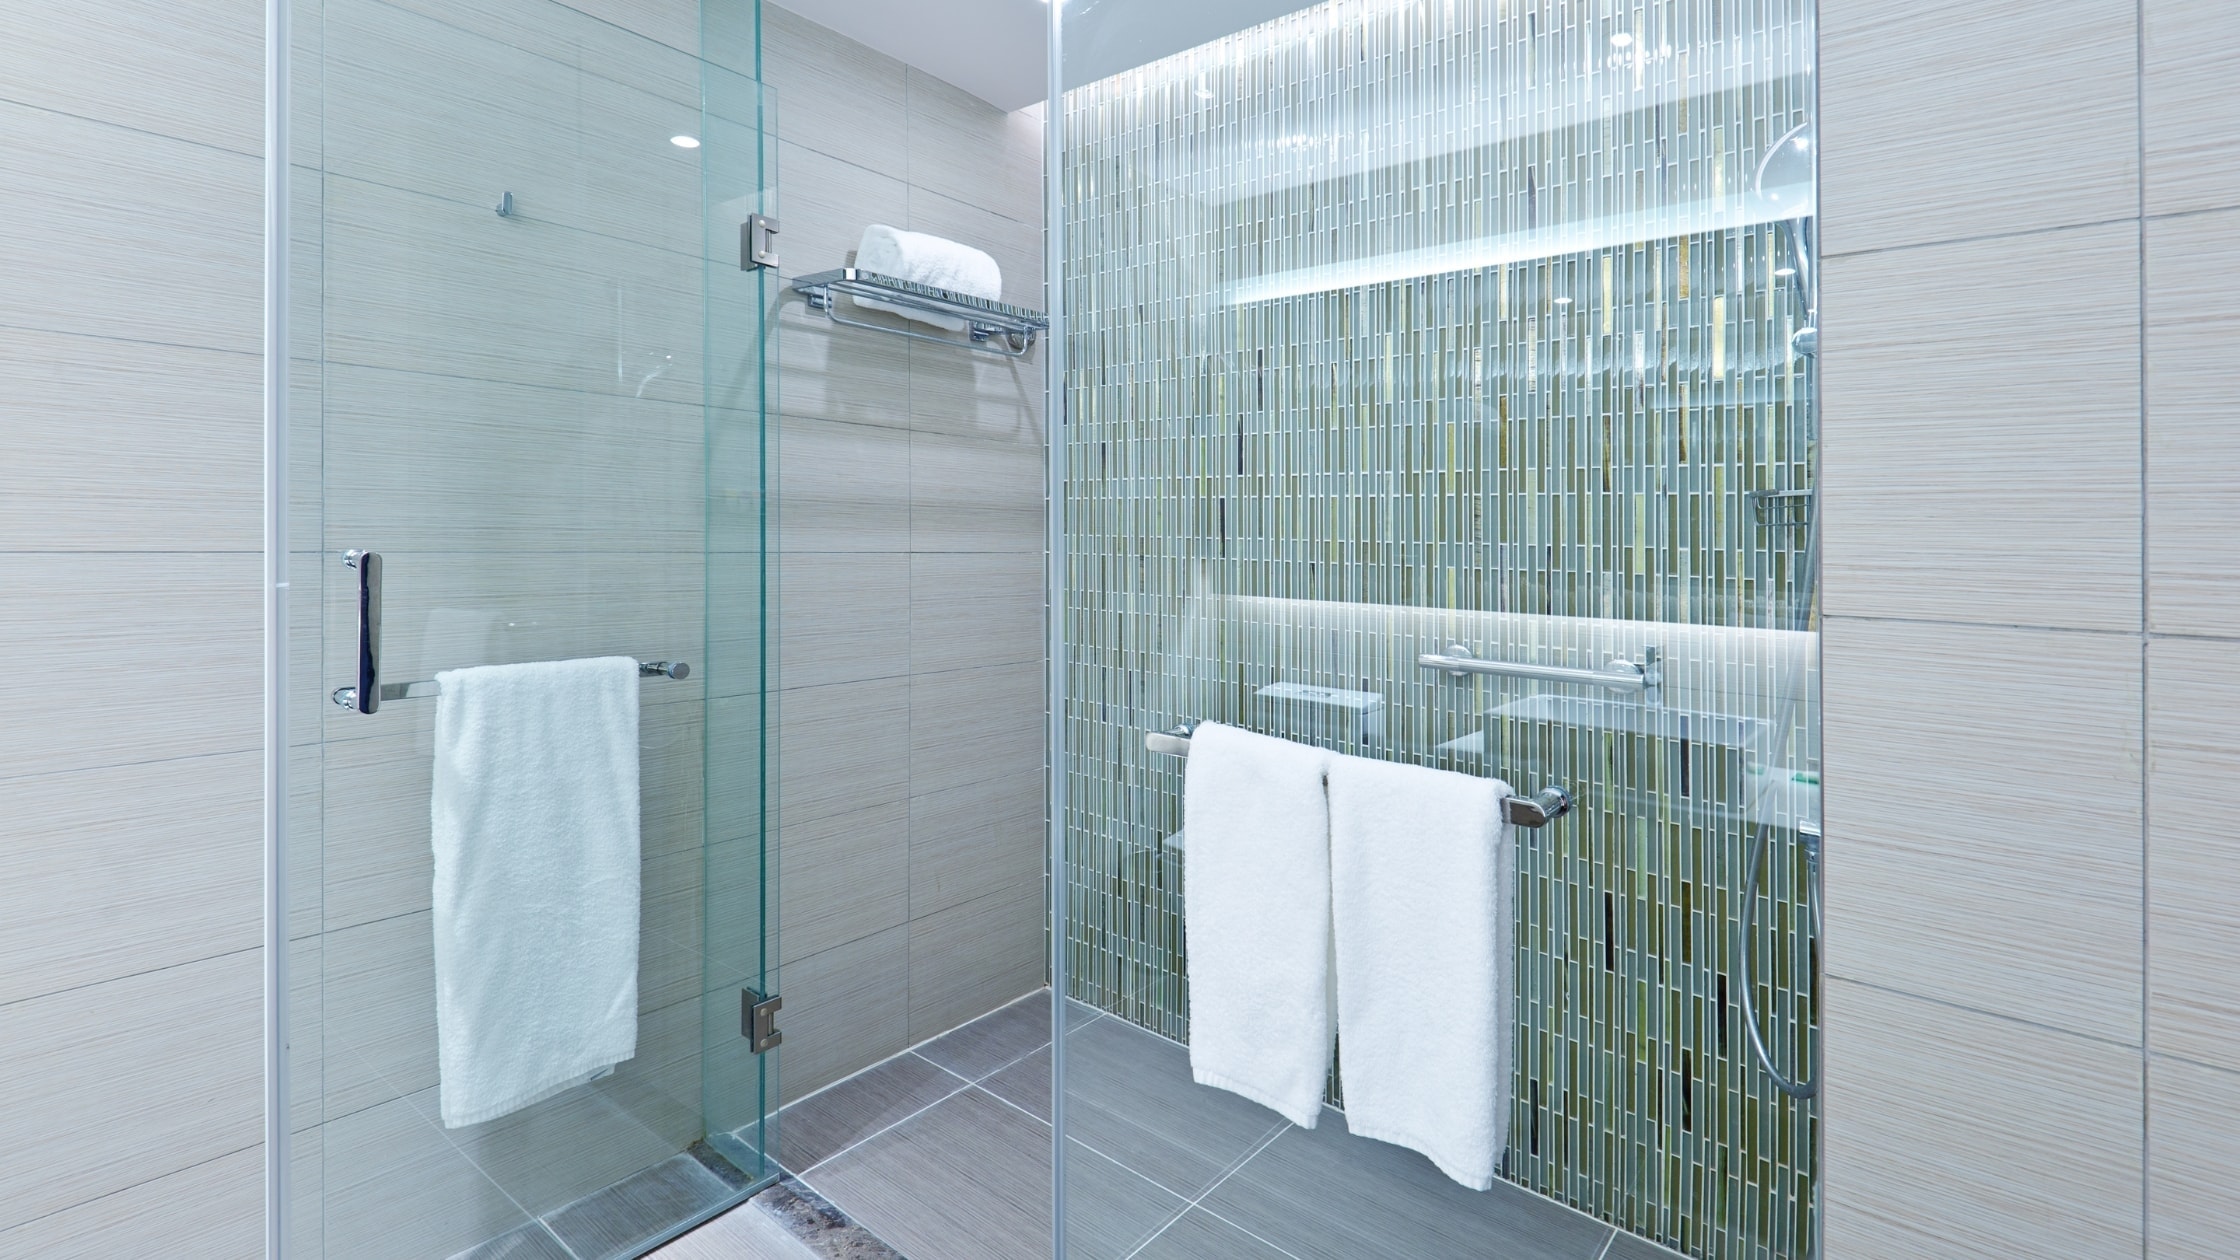
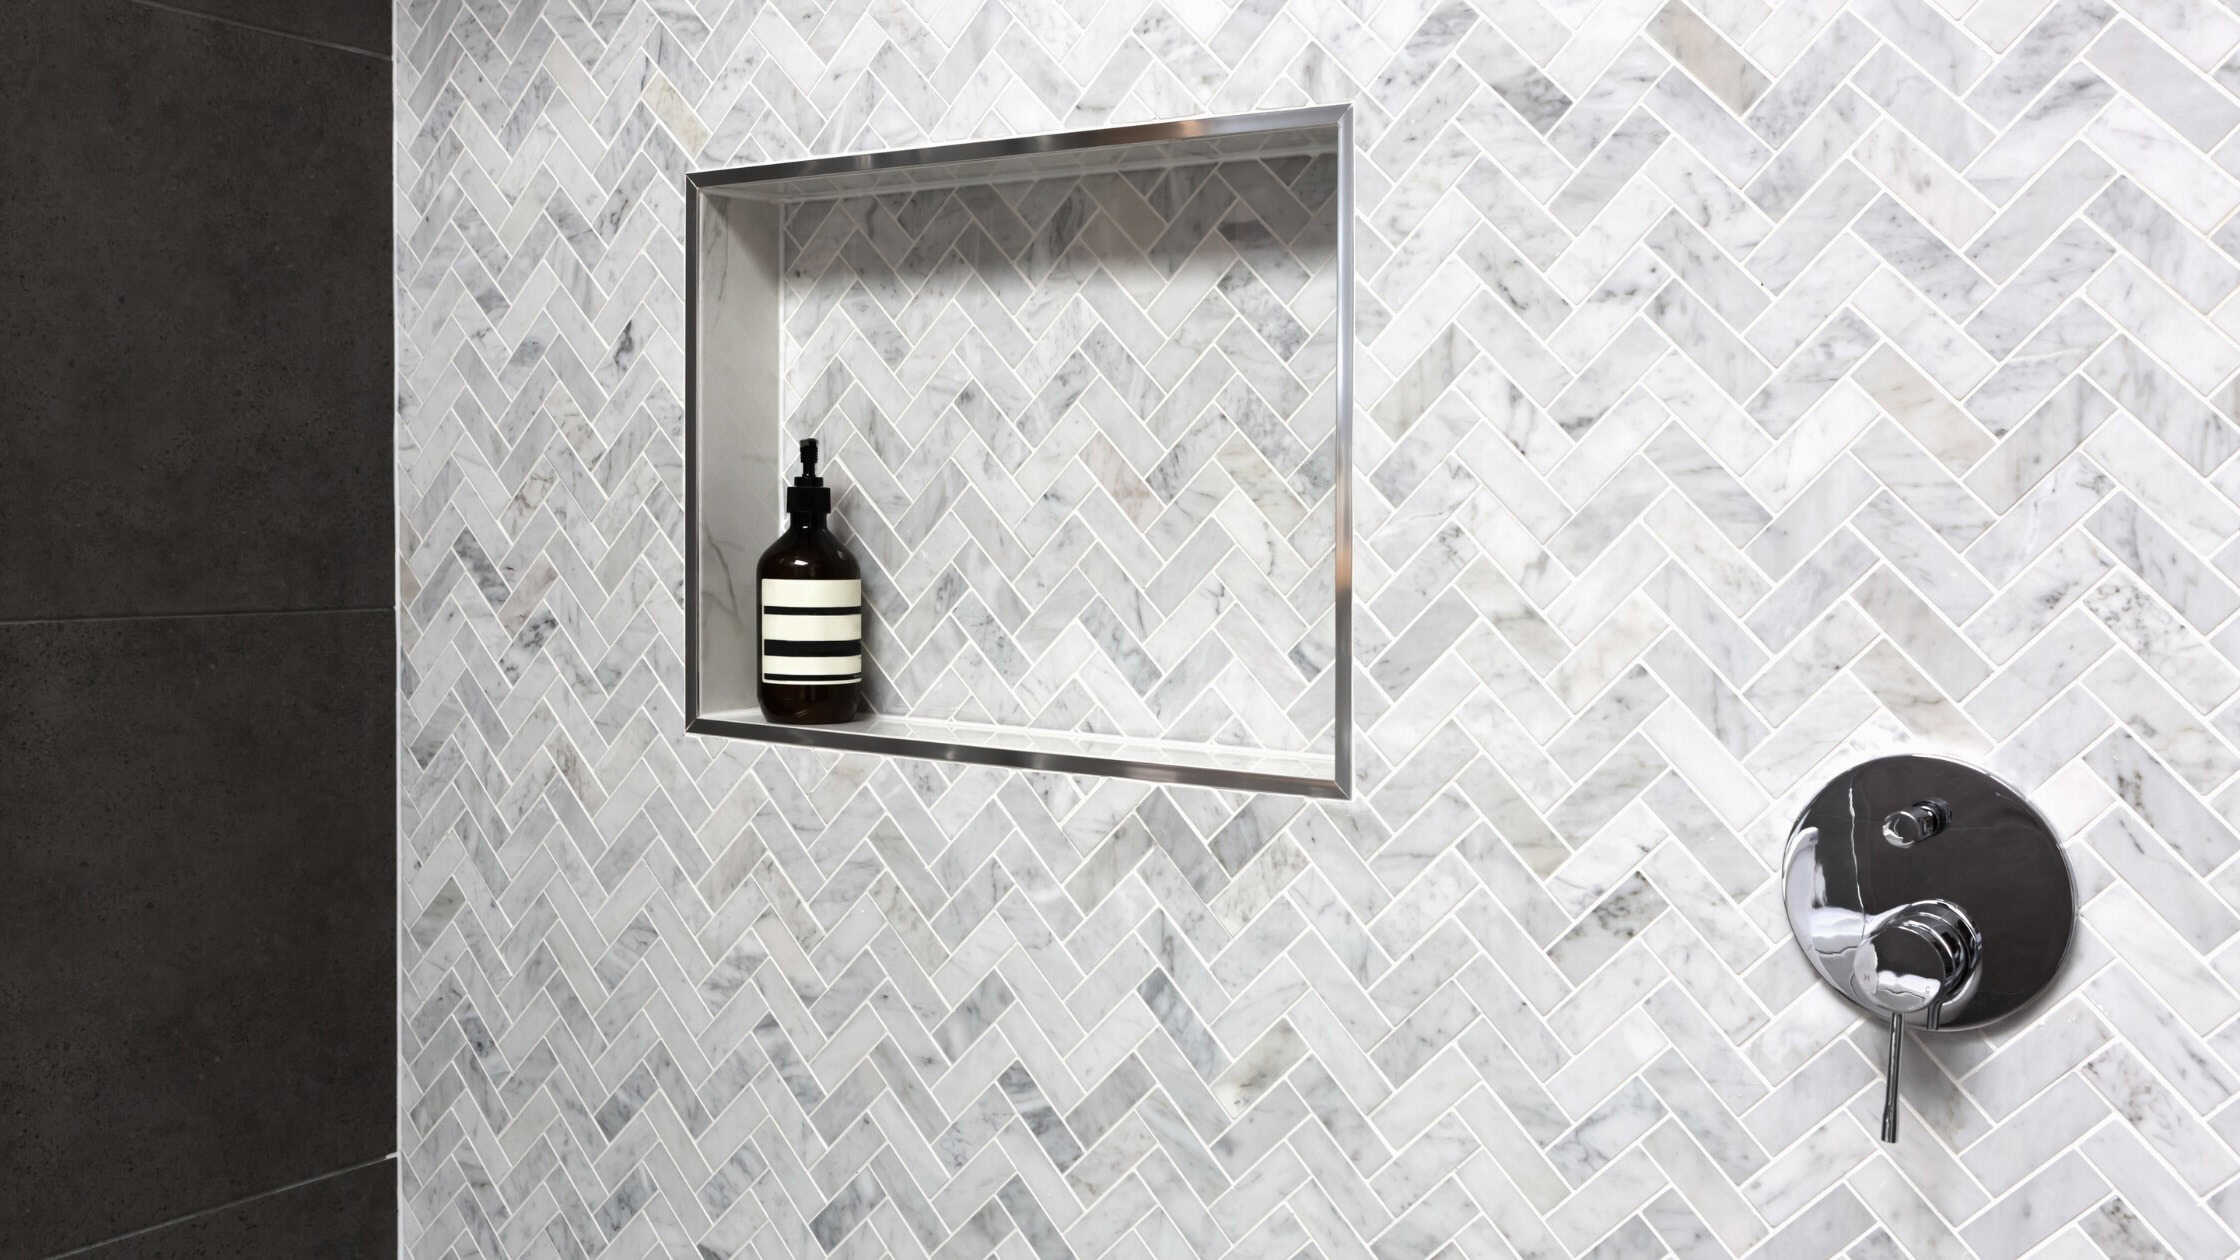
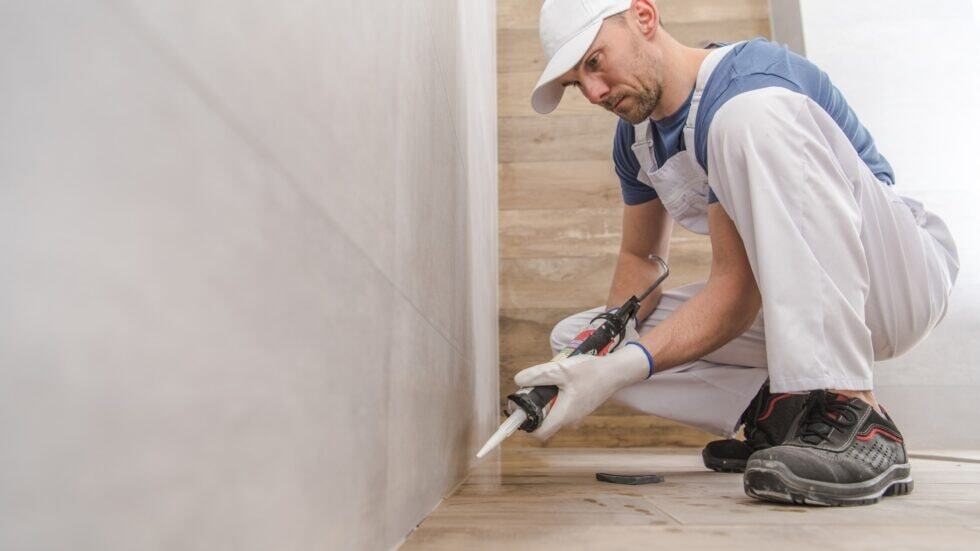
The final installation phase brings your shower conversion to life with fixtures, accessories, and finishing touches. Contractors install the showerhead, faucet controls, and any additional features like body sprays or handheld units. They add grab bars in strategic locations for enhanced safety, install built in niches for storage, and attach any glass doors or panels that complete your shower space.
Frameless glass enclosures create an open, spa like experience that makes even smaller bathrooms feel more spacious. These systems require precise measurement and professional installation to ensure proper fit and water containment. Contractors carefully level and secure glass panels, then seal all penetrations to prevent leaks while maintaining the clean aesthetic that frameless systems provide.
Final installation steps include:
- Setting and sealing all fixtures according to manufacturer specifications
- Installing shower doors or curtain rods
- Applying final caulk and sealants around edges and penetrations
- Testing water flow, drainage, and temperature controls
- Cleaning all surfaces and removing protective films
- Conducting a final inspection to ensure everything meets quality standards
Professional contractors test your shower thoroughly before considering the job complete. They run water for extended periods to verify proper drainage, check for any leaks around fixtures and seals, and confirm that all controls function correctly. This attention to detail ensures your new shower performs flawlessly from day one.
Frequently Asked Questions About the Tub to Shower Conversion Process
Can I use my bathroom during the tub to shower conversion?
Most conversions require that the bathroom remain out of service for the duration of the project. While contractors work efficiently to minimize downtime, waterproofing cure times and installation processes prevent immediate use. Plan to use alternate facilities for 2-7 days depending on your specific conversion complexity.
What if contractors discover water damage during demolition?
Discovering water damage during demolition is relatively common in older bathrooms. Quality contractors address these issues immediately, replacing damaged materials and treating any mold before proceeding with installation. While this adds time and cost to your project, repairing damage ensures your new walk in shower has a solid foundation and prevents future problems.
Do I need to be home during the entire conversion process?
You don’t need to be present throughout installation, but contractors appreciate access to make decisions about any unexpected situations that arise. Establish communication preferences during your consultation and ensure contractors can reach you if questions come up during the remodel.
How soon can I use my new walk-in shower after installation?
Timing depends on installation materials and methods. Pre-fabricated systems sealed with silicone caulk typically require 24 hours before use. Custom tile installations need longer cure times for grout and sealants, potentially 48-72 hours. Your contractor provides specific guidance based on materials used in your conversion.
What warranty coverage should I expect for my tub to shower conversion?
Reputable contractors offer warranties on both labor and materials. Installation workmanship warranties typically cover 1-5 years, while materials carry manufacturer warranties that vary by product. Review warranty terms carefully during your consultation and understand what situations are covered versus excluded from protection.
Will converting my bathtub to a shower affect my home’s resale value?
Impact on resale value depends on your local market and whether you’re removing the only bathtub in your home. In areas with predominantly adult buyers or where accessibility features are valued, conversions often increase appeal. Homes marketed to families typically benefit from maintaining at least one bathtub. Consult with local real estate professionals to understand buyer preferences in your specific area.
What should I do if I’m not satisfied with any aspect of the installation?
Address concerns immediately with your contractor. Quality companies want satisfied customers and will work to resolve any issues promptly. Document concerns with photos and communicate them in writing. Most problems can be corrected quickly when addressed during or shortly after installation rather than waiting weeks or months.
Transform Your Bathroom With Professional Tub to Shower Conversion Services
Understanding the tub to shower conversion process helps you approach your bathroom remodel with confidence and realistic expectations. From initial consultation through final inspection, quality contractors manage every detail to create a walk-in shower that meets your functional needs and aesthetic preferences. The transformation happens efficiently when you work with experienced professionals who prioritize craftsmanship, maintain clean work areas, and communicate clearly throughout the project.
The Ultimate Guide to Tub-to-Shower Conversions provides additional resources for planning your bathroom transformation, including design options, accessibility features, and cost considerations that help you make informed decisions.
My Bath LLC serves Butler and the greater Pittsburgh area with professional bathroom remodeling services that deliver quality results. Contact My Bath LLC today to schedule your consultation and take the first step toward creating the functional, beautiful shower space you deserve.