
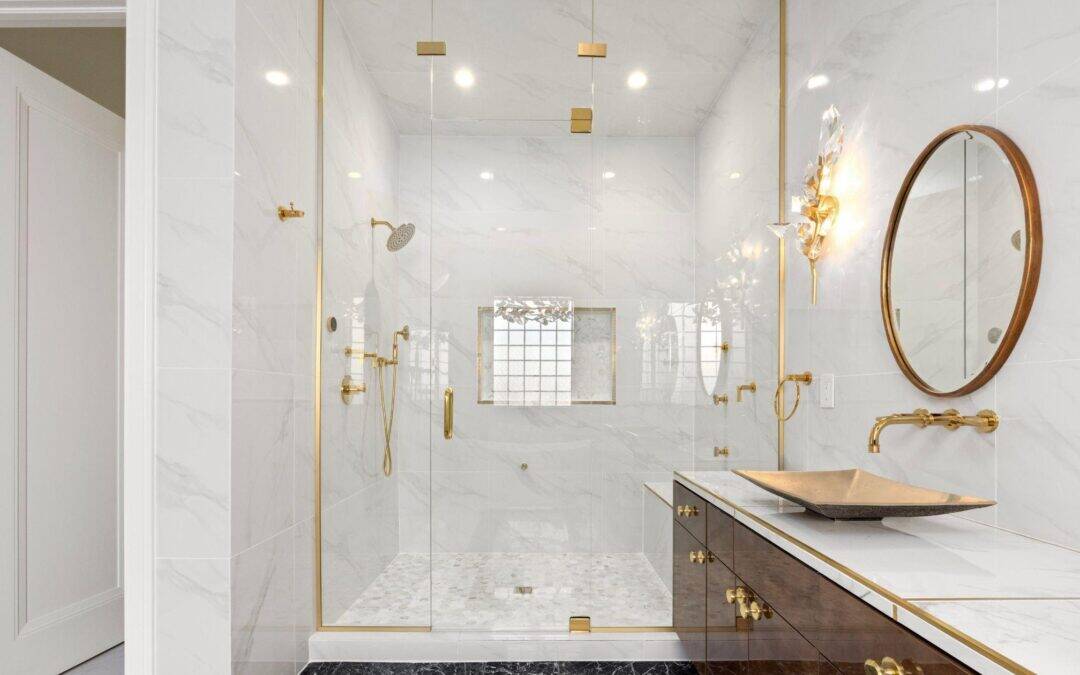
Proper waterproofing in a shower remodel is not an optional upgrade. It is the foundational layer that determines whether the entire project holds up for years or fails within months. Every tile, every fixture, and every finishing material depends on a sound shower waterproofing system underneath it to perform as intended.
Most homeowners focus on the visible elements of a shower remodel: the tile pattern, the fixture finish, the glass door. Those choices matter for the look of the space. But what sits behind the shower walls and beneath the shower floor determines whether water stays out of the wall cavity, the subfloor, and the framing. Water penetration in those hidden areas leads to mold growth, structural rot, and costly repairs that require tearing out the entire installation to fix.
My Bath LLC handles tub-to-shower conversions across Butler, PA and the greater Pittsburgh area, and shower waterproofing is the step that never gets skipped or cut short on a job site. This guide explains the systems available, the critical areas that demand attention, and why this phase of a shower remodel deserves as much care as anything else in the project.
For a broader look at the full conversion process, the ultimate guide to tub-to-shower conversions covers everything from layout planning through final installation, with shower waterproofing as a central component.
Why Is Waterproofing a Shower Remodel So Critical?
A tile shower looks waterproof from the surface. The tile itself is impervious to water, and well-applied grout fills the joints between ceramic tiles. But grout is not fully waterproof, and no tile installation stays perfectly sealed forever. Grout cracks over time. Caulk around plumbing fixtures and corners shrinks and separates. When those micro-failures happen, water moves behind the tile layer and into whatever substrate sits beneath it.
If that substrate is standard drywall or unfaced insulation, the water absorbs immediately and spreads through the wall cavity. Within days, mold and mildew growth begins. Within weeks, the wood framing and subfloor start to break down. The tile on the surface may show no signs of a problem for months or even years while the damage compounds invisibly behind it. By the time a homeowner notices soft spots on the floor or tile that moves underfoot, the repair scope has grown dramatically.
Did you know? The EPA’s guidance on mold and moisture notes that mold can begin growing on wet building materials within 24 to 48 hours. In a shower wall with a failed waterproofing layer, that timeline means a small grout crack can create a hidden mold problem within two days.
Proper waterproofing stops this cycle before it starts. A correctly installed waterproof membrane keeps water from ever reaching the structural materials behind the shower. It creates a barrier that the tile layer sits on top of rather than serving as the only line of defense. This distinction is the difference between a shower remodel that holds up for 20 years and one that needs a full tear-out within five.
What Are the Most Critical Areas to Waterproof in a Shower?
Not every part of a shower presents equal water exposure. Some zones see constant saturation, and those are the most critical areas where waterproofing failures cause the fastest and most severe damage. Understanding where to focus effort during installation helps explain why professional application matters more than homeowners often realize.
The Shower Pan and Floor
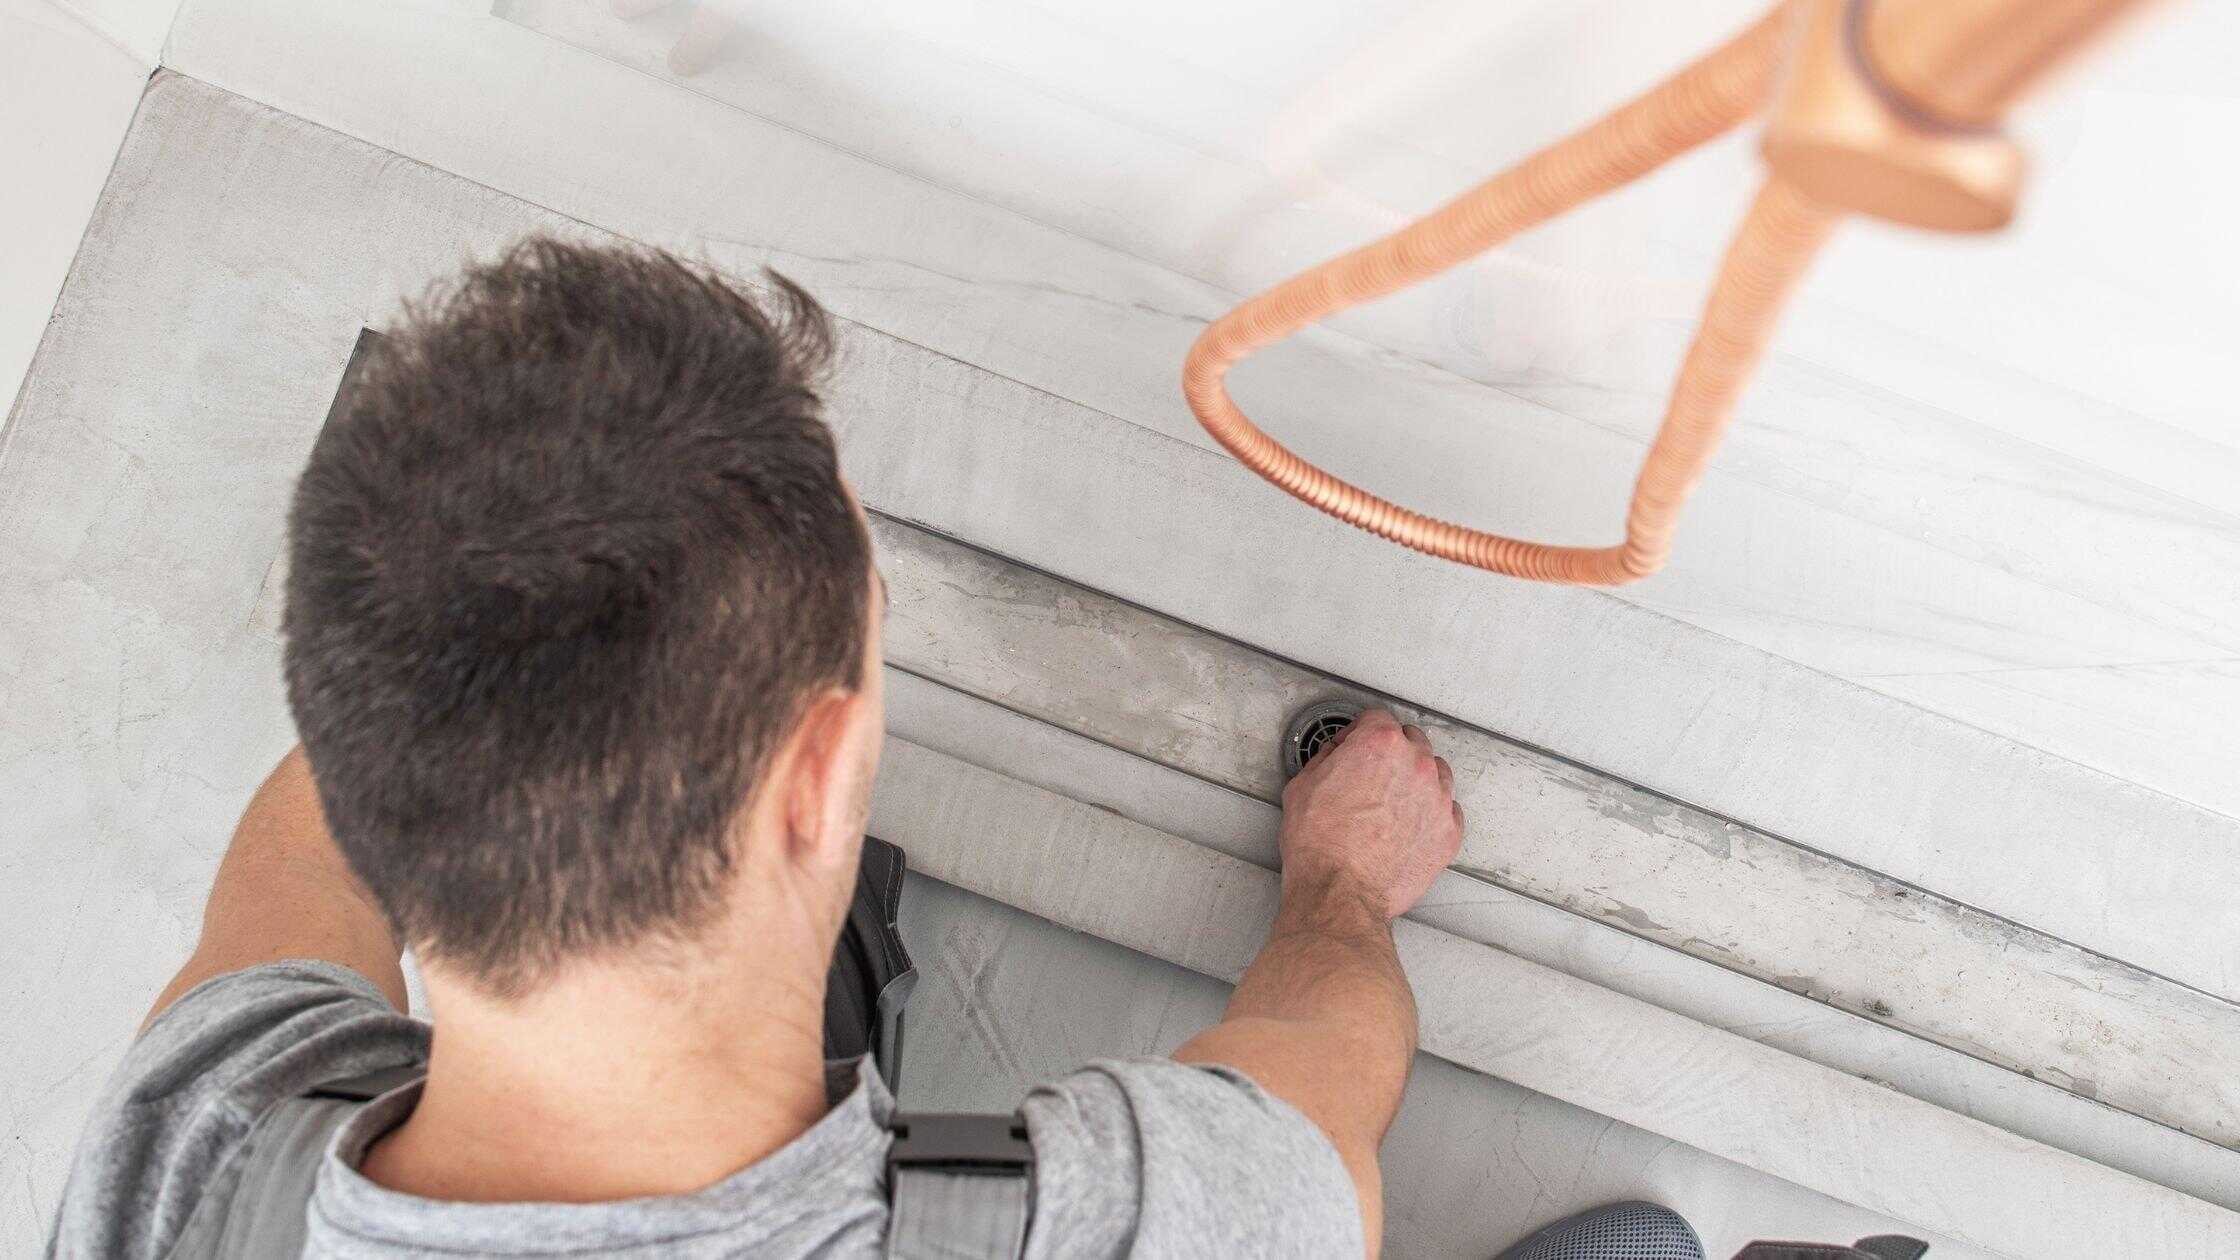
The shower pan is the highest-risk zone in the entire installation. Water pools on the shower floor with every use, sits at the drain, and puts constant pressure on the waterproofing layer beneath the tile. A failure here sends water directly into the subfloor and joists below, which often means damage extending into the ceiling of the room below the bathroom.
The pan liner or shower membrane at the floor level must extend up the walls several inches before the wall tile begins, creating a continuous waterproof basin. The drain connection is a particularly vulnerable point. A properly installed drain flange integrates with the membrane so water cannot travel between the two materials. This detail is where many DIY installations fail, even when the rest of the work looks correct.
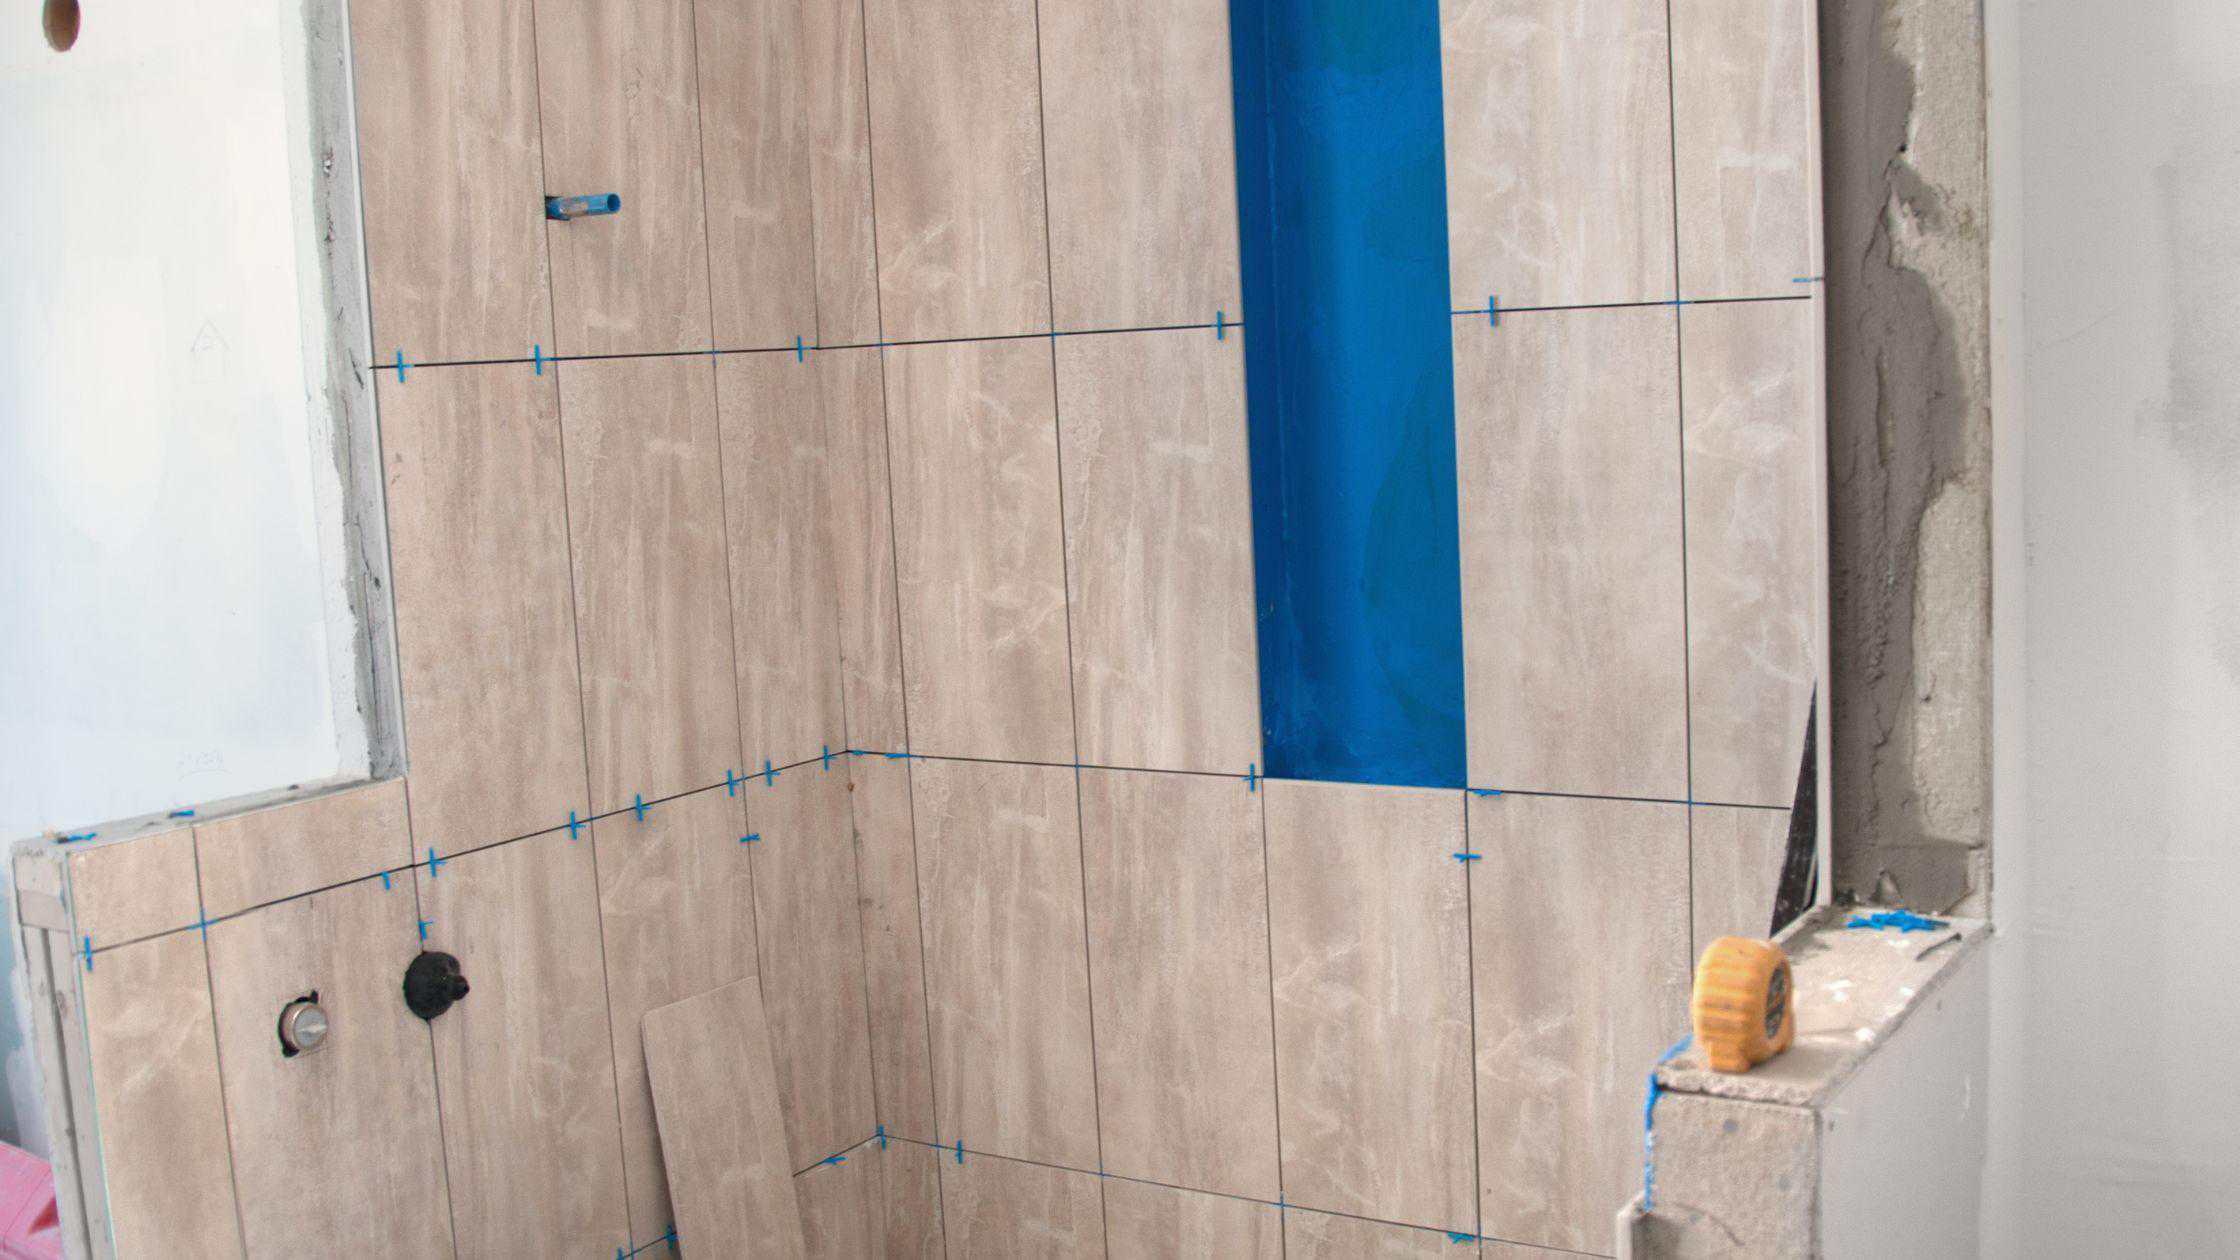
Shower Walls and the Wall Cavity
Shower walls face direct water contact from the showerhead, splash, and steam. The waterproofing system on the shower walls must cover the full surface behind the wall tile, from the floor membrane up to at least 6 inches above the showerhead. Corners where two walls meet and the seam where the wall meets the floor are the highest-risk points on the wall surface.
Seam tape reinforces these transition points in both sheet membrane and liquid membrane systems. Without it, the membrane is prone to cracking or separating at joints under the movement and thermal expansion that happens in a wet area over time. Seams and corners that receive proper tape and an additional coat of waterproofing material are the ones that hold up over the long term.
Quick tip: Corners and seams in a shower are where waterproofing failures start most often. Whether using a liquid or sheet membrane system, these joints always deserve an extra layer of material and reinforcing tape before the rest of the surface receives its full coat.
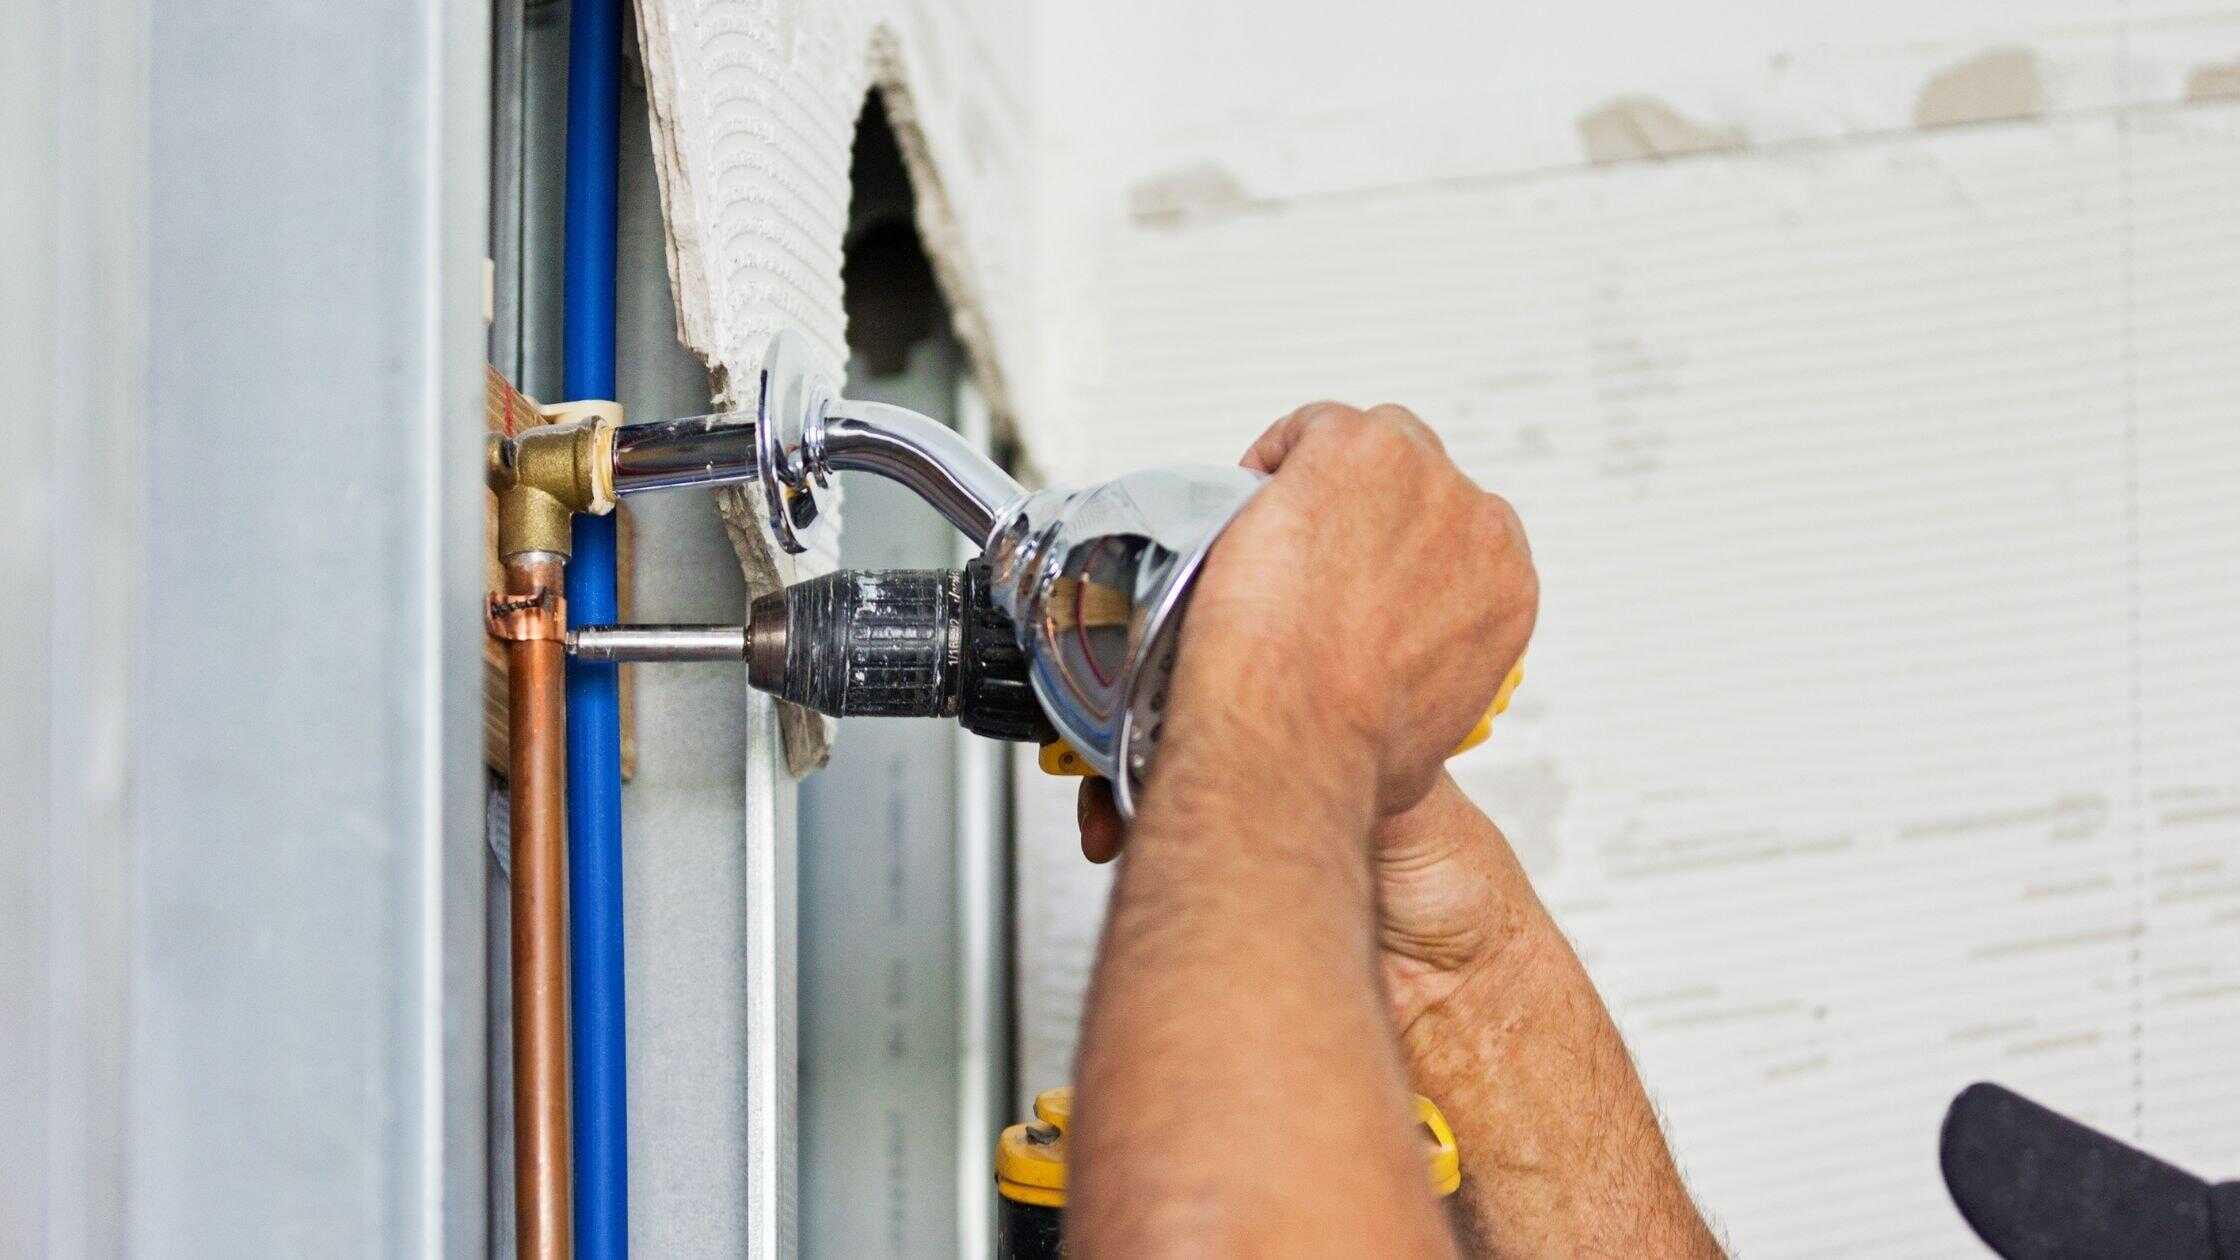
Around Plumbing Fixtures and Penetrations
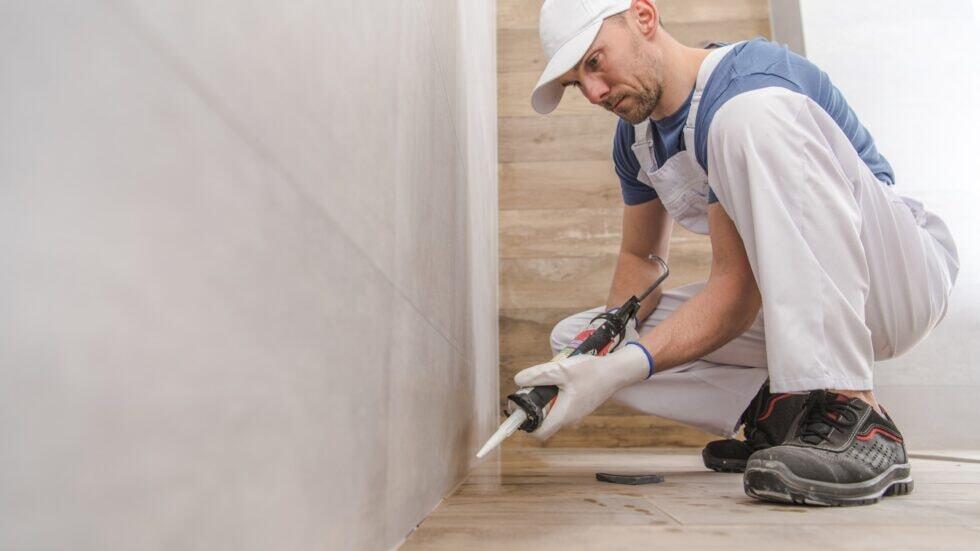
Every hole in the waterproofing layer is a potential leak point. Plumbing fixtures require penetrations through the membrane, and each one needs to be sealed correctly before the tile goes on. Showerhead arms, valve stems, and body spray fittings all create spots where water can find a path behind the wall if the membrane is not integrated correctly around them. Silicone collars and pre-formed penetration seals address these transition points, but they require attention during installation rather than as an afterthought.
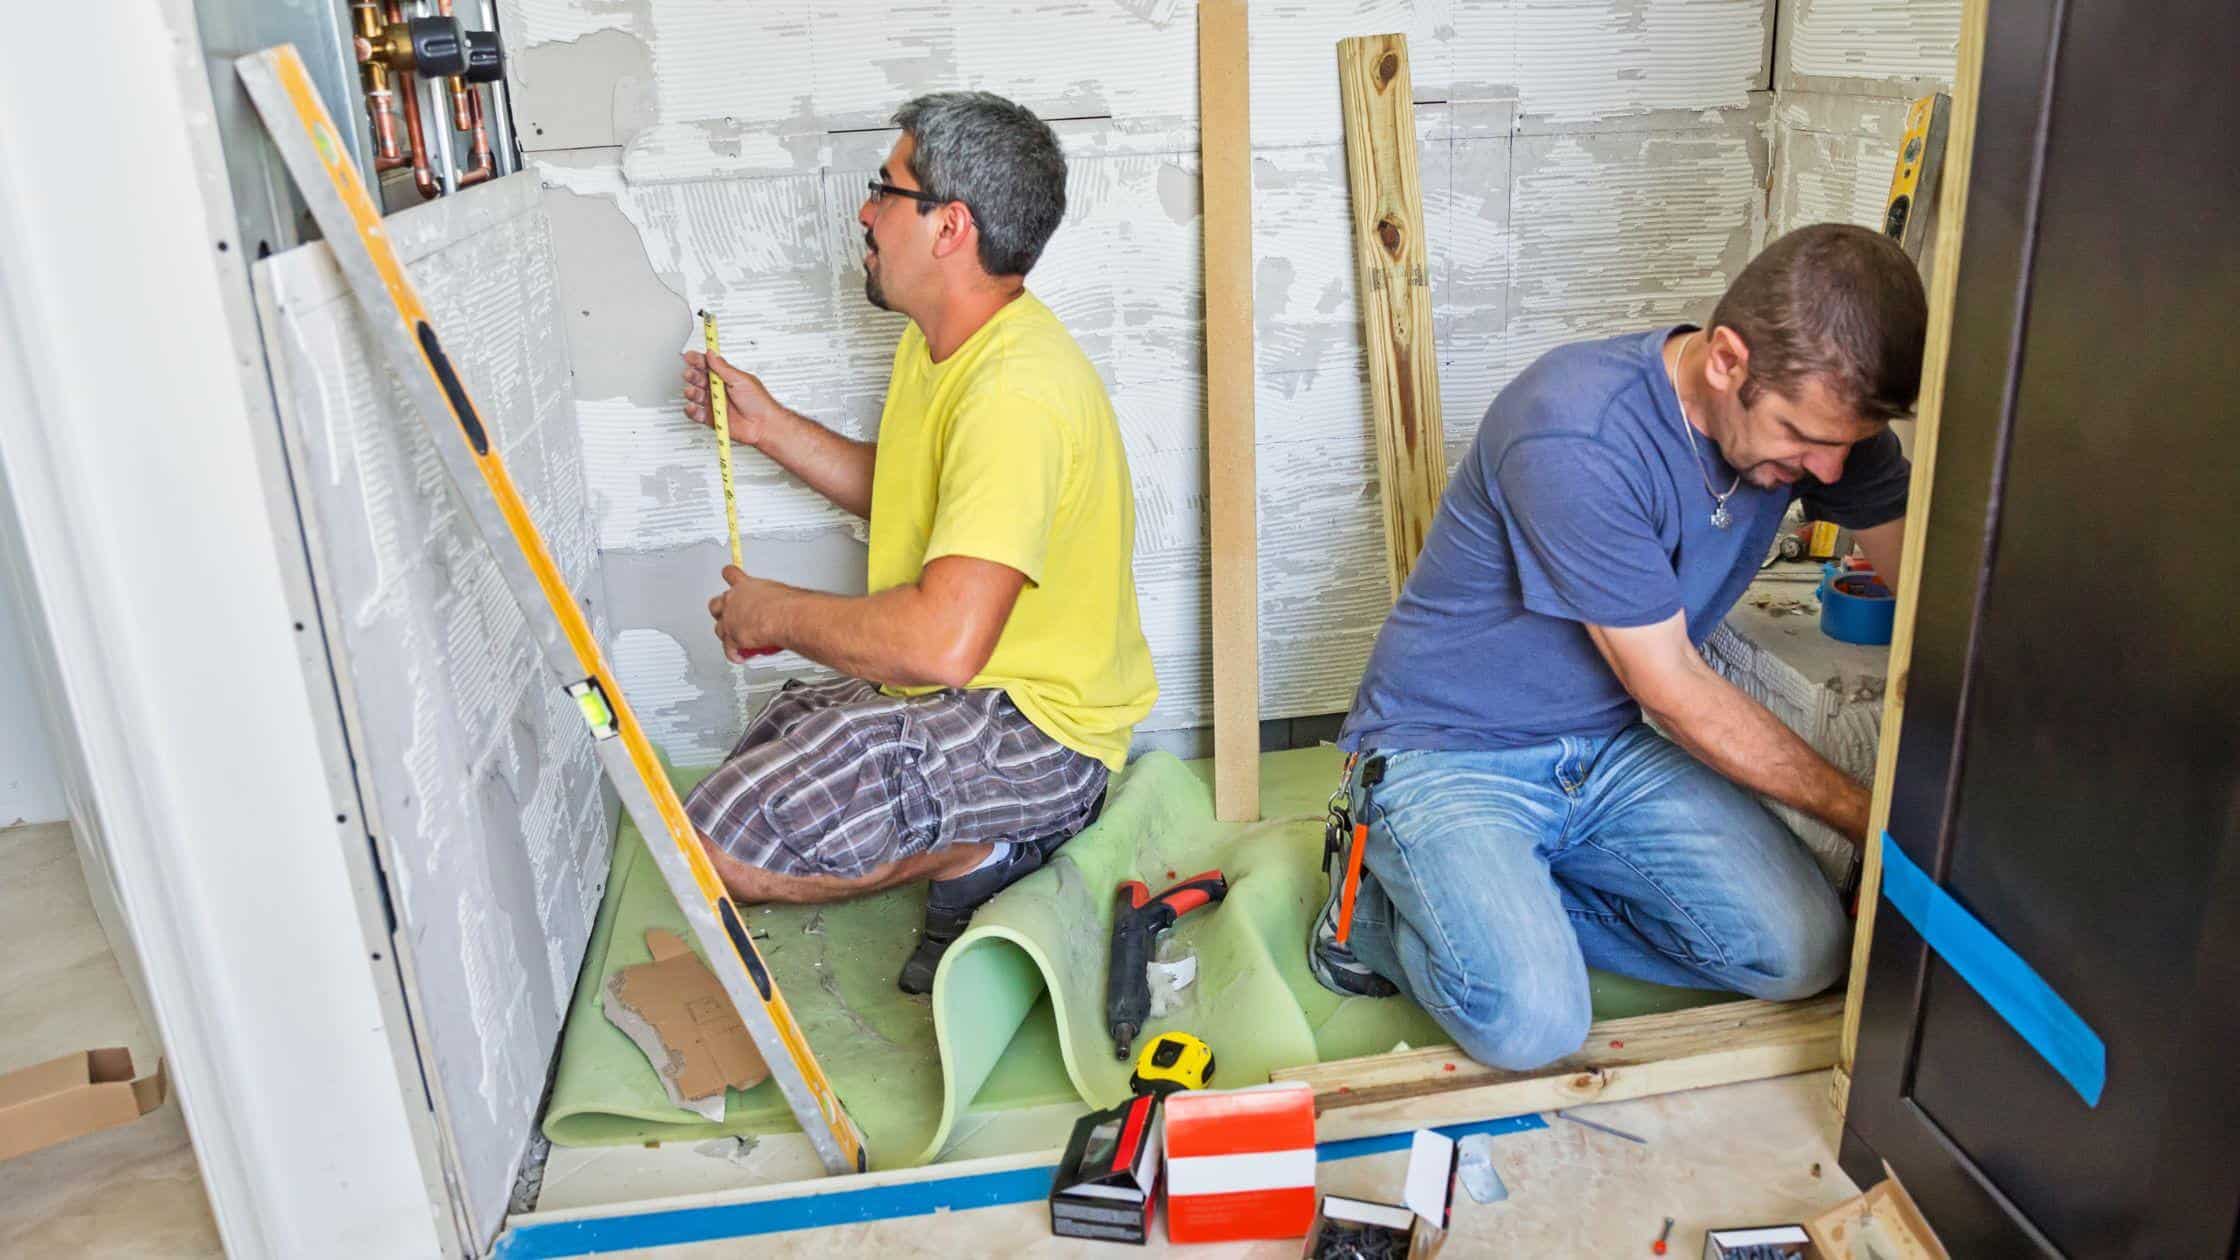
What Is the Best Backer Board for a Waterproof Shower?
The backer board is the substrate that the waterproofing membrane and tile layer attach to on the shower walls. Choosing the right board is a foundational decision that affects how well the waterproofing system performs and how long the installation lasts. Several options are available, and each has distinct characteristics.
Cement Board
Cement board is the most widely used tile backer board in wet areas. It does not rot, swell, or degrade when exposed to moisture, which makes it a reliable substrate behind a waterproof membrane. Standard cement board products like HardieBacker and Durock are code-compliant for shower applications and provide a stable surface for tile adhesion. Cement board is heavy and requires cutting with a utility knife or scoring tool, which makes it more labor-intensive to install than lighter alternatives.
Foam Backer Board
Foam backer board products, such as Schluter Kerdi-Board and USG Durock Foam, offer a lighter alternative to cement with a surface that bonds well to both tile mortar and waterproofing membranes. Some foam board systems are designed to work as part of an integrated waterproofing system, where the board itself contributes to moisture resistance rather than relying entirely on a separate membrane layer. These systems cost more than standard cement board but can reduce installation time and provide a more consistent result.
Did you know? Standard drywall, even moisture-resistant “green board” or “purple board,” is not suitable as a tile backer board in a shower. These products resist surface moisture but absorb water that penetrates through grout joints, and they will eventually fail in a direct-wet application.
How Does a Sheet Membrane System Work in a Shower Remodel?
A sheet membrane is a pre-formed, flexible waterproofing layer that installs over the backer board and under the tile. Products like Schluter Kerdi and Custom Building Products RedGard Sheet are applied using thin-set mortar. The membrane covers the full wall and floor surface, and seam tape is embedded into thin-set at all joints and corners to create a continuous barrier.
The primary advantage of a sheet membrane system is consistency. Because the material comes in a defined thickness and requires a specific installation method, the result is more predictable than a liquid-applied system where coverage depends on the applicator’s technique. Sheet membrane systems are well-suited to professional installation where crews apply them at consistent volume across multiple projects.
The Tile Council of North America, whose TCNA Handbook serves as the industry standard reference for tile installation, specifies sheet membrane and liquid membrane systems as the two primary waterproofing methods for residential shower applications. Both are acceptable when installed correctly according to the manufacturer’s instructions.
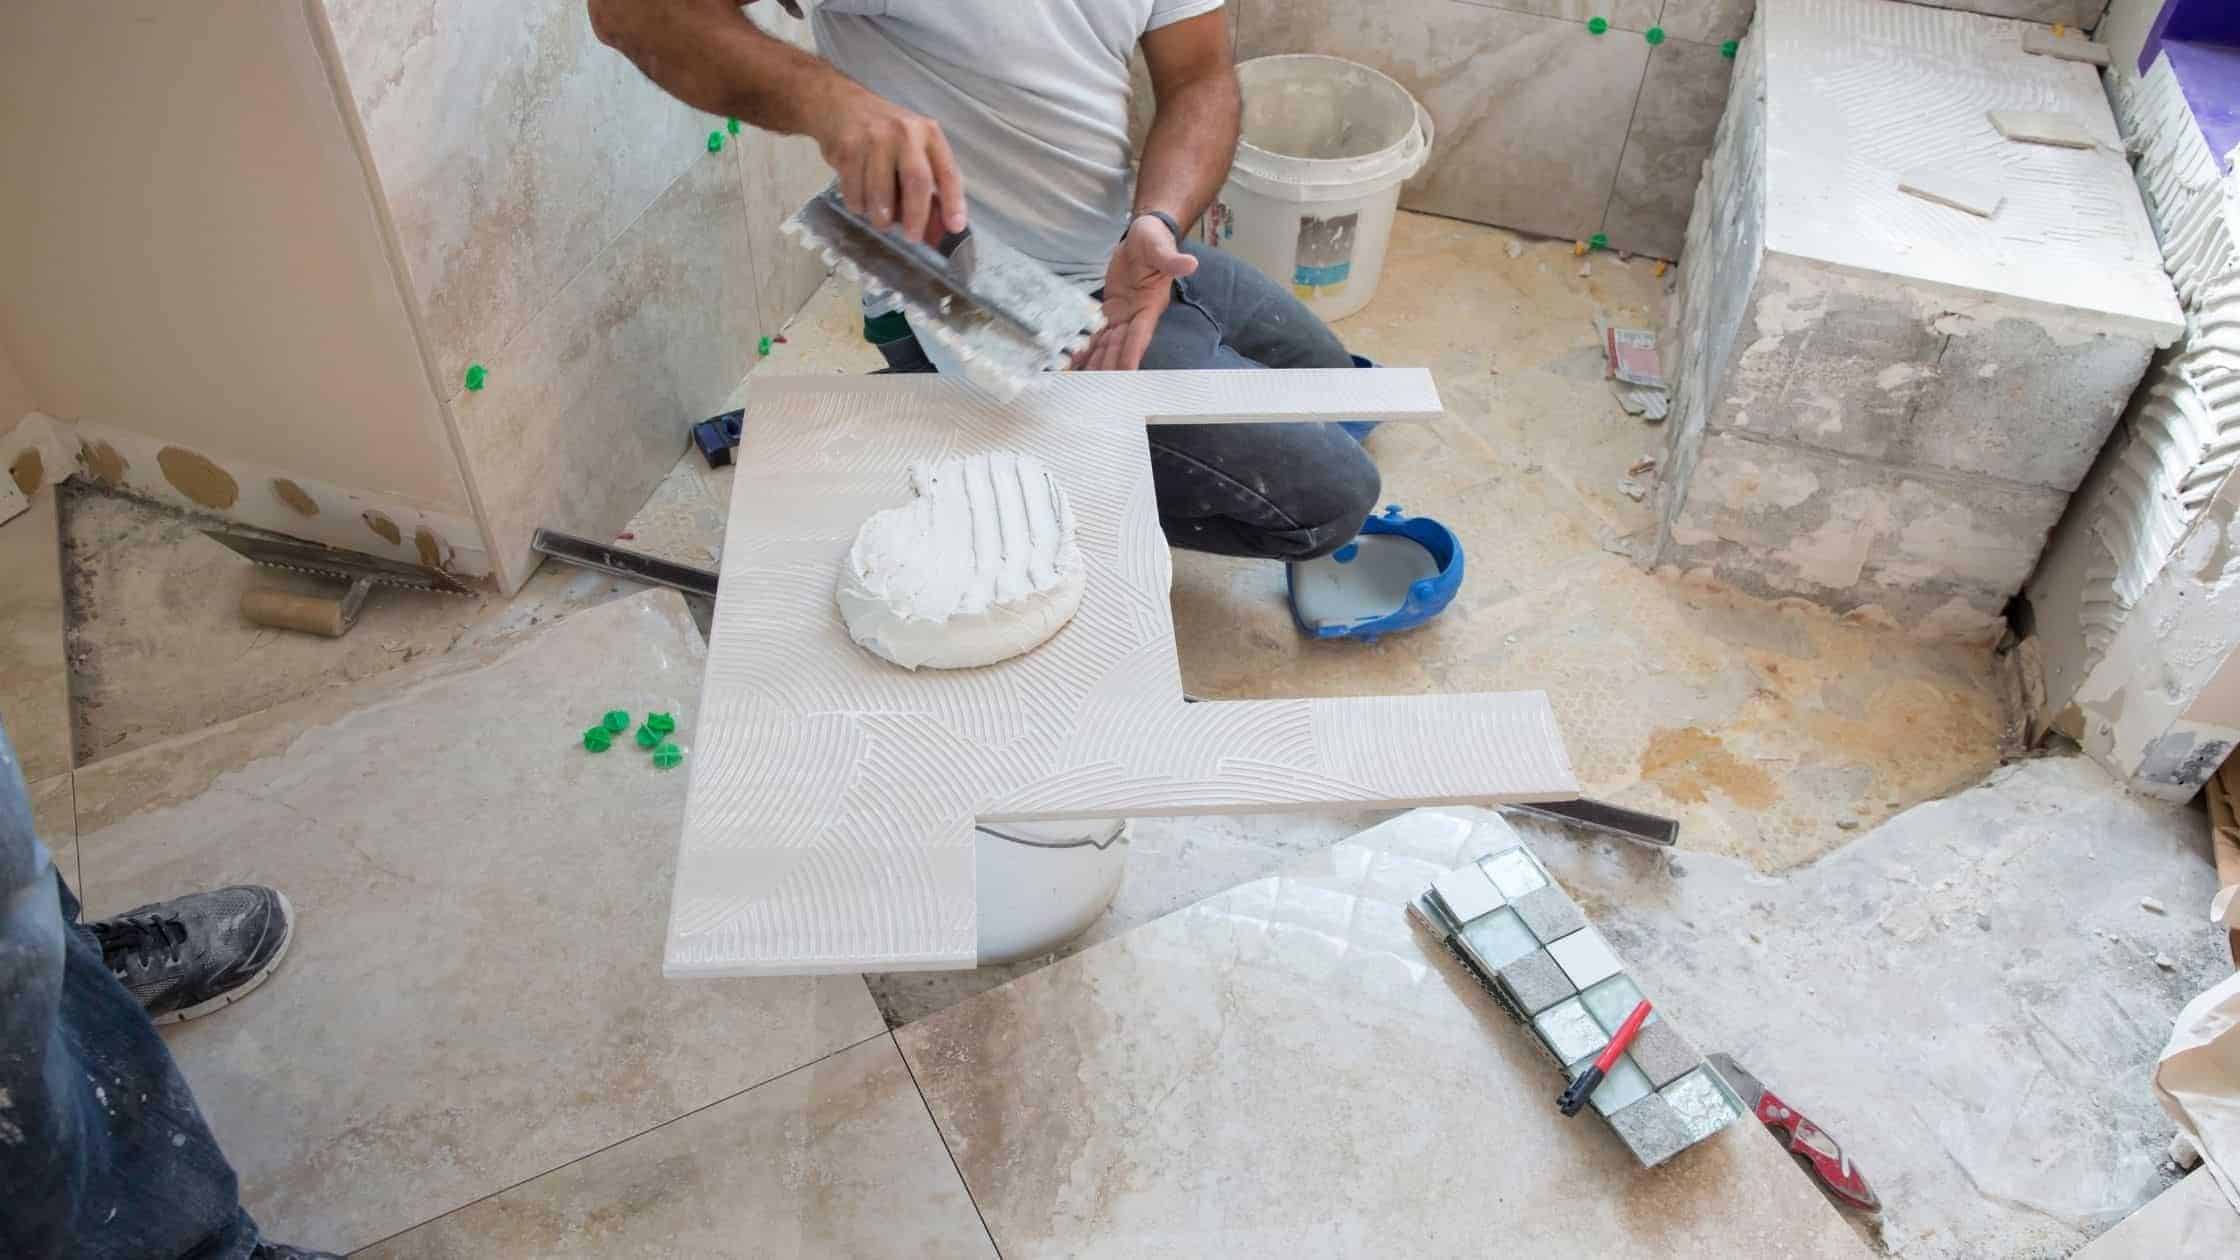
When Should You Use a Liquid Membrane?
A liquid waterproofing membrane applies directly to the backer board surface using a paint roller or brush, curing to form a continuous, flexible waterproof layer. Products like RedGard and Laticrete Hydro Ban are common examples. The liquid membrane formula allows it to fill minor surface irregularities and bond tightly to complex shapes, which makes it a strong choice for shower floors, around drains, and in areas with non-standard angles or transitions.
Correct application requires full coverage with no holidays or thin spots. A second coat goes on perpendicular to the first to catch any gaps from the initial pass. Most shower membrane products change color as they dry, which helps the installer confirm coverage visually. Corners and seams still require fabric reinforcing mesh embedded into the first coat before the second coat applies over the top.
The practical challenge with a liquid waterproofing membrane in a DIY context is that coverage consistency depends entirely on the person applying it. Areas with insufficient thickness will not perform as designed. This is one of several reasons why waterproofing is a step where professional installation reduces risk significantly.
How Does Waterproofing Prevent Mold and Mildew Growth Behind the Tile?
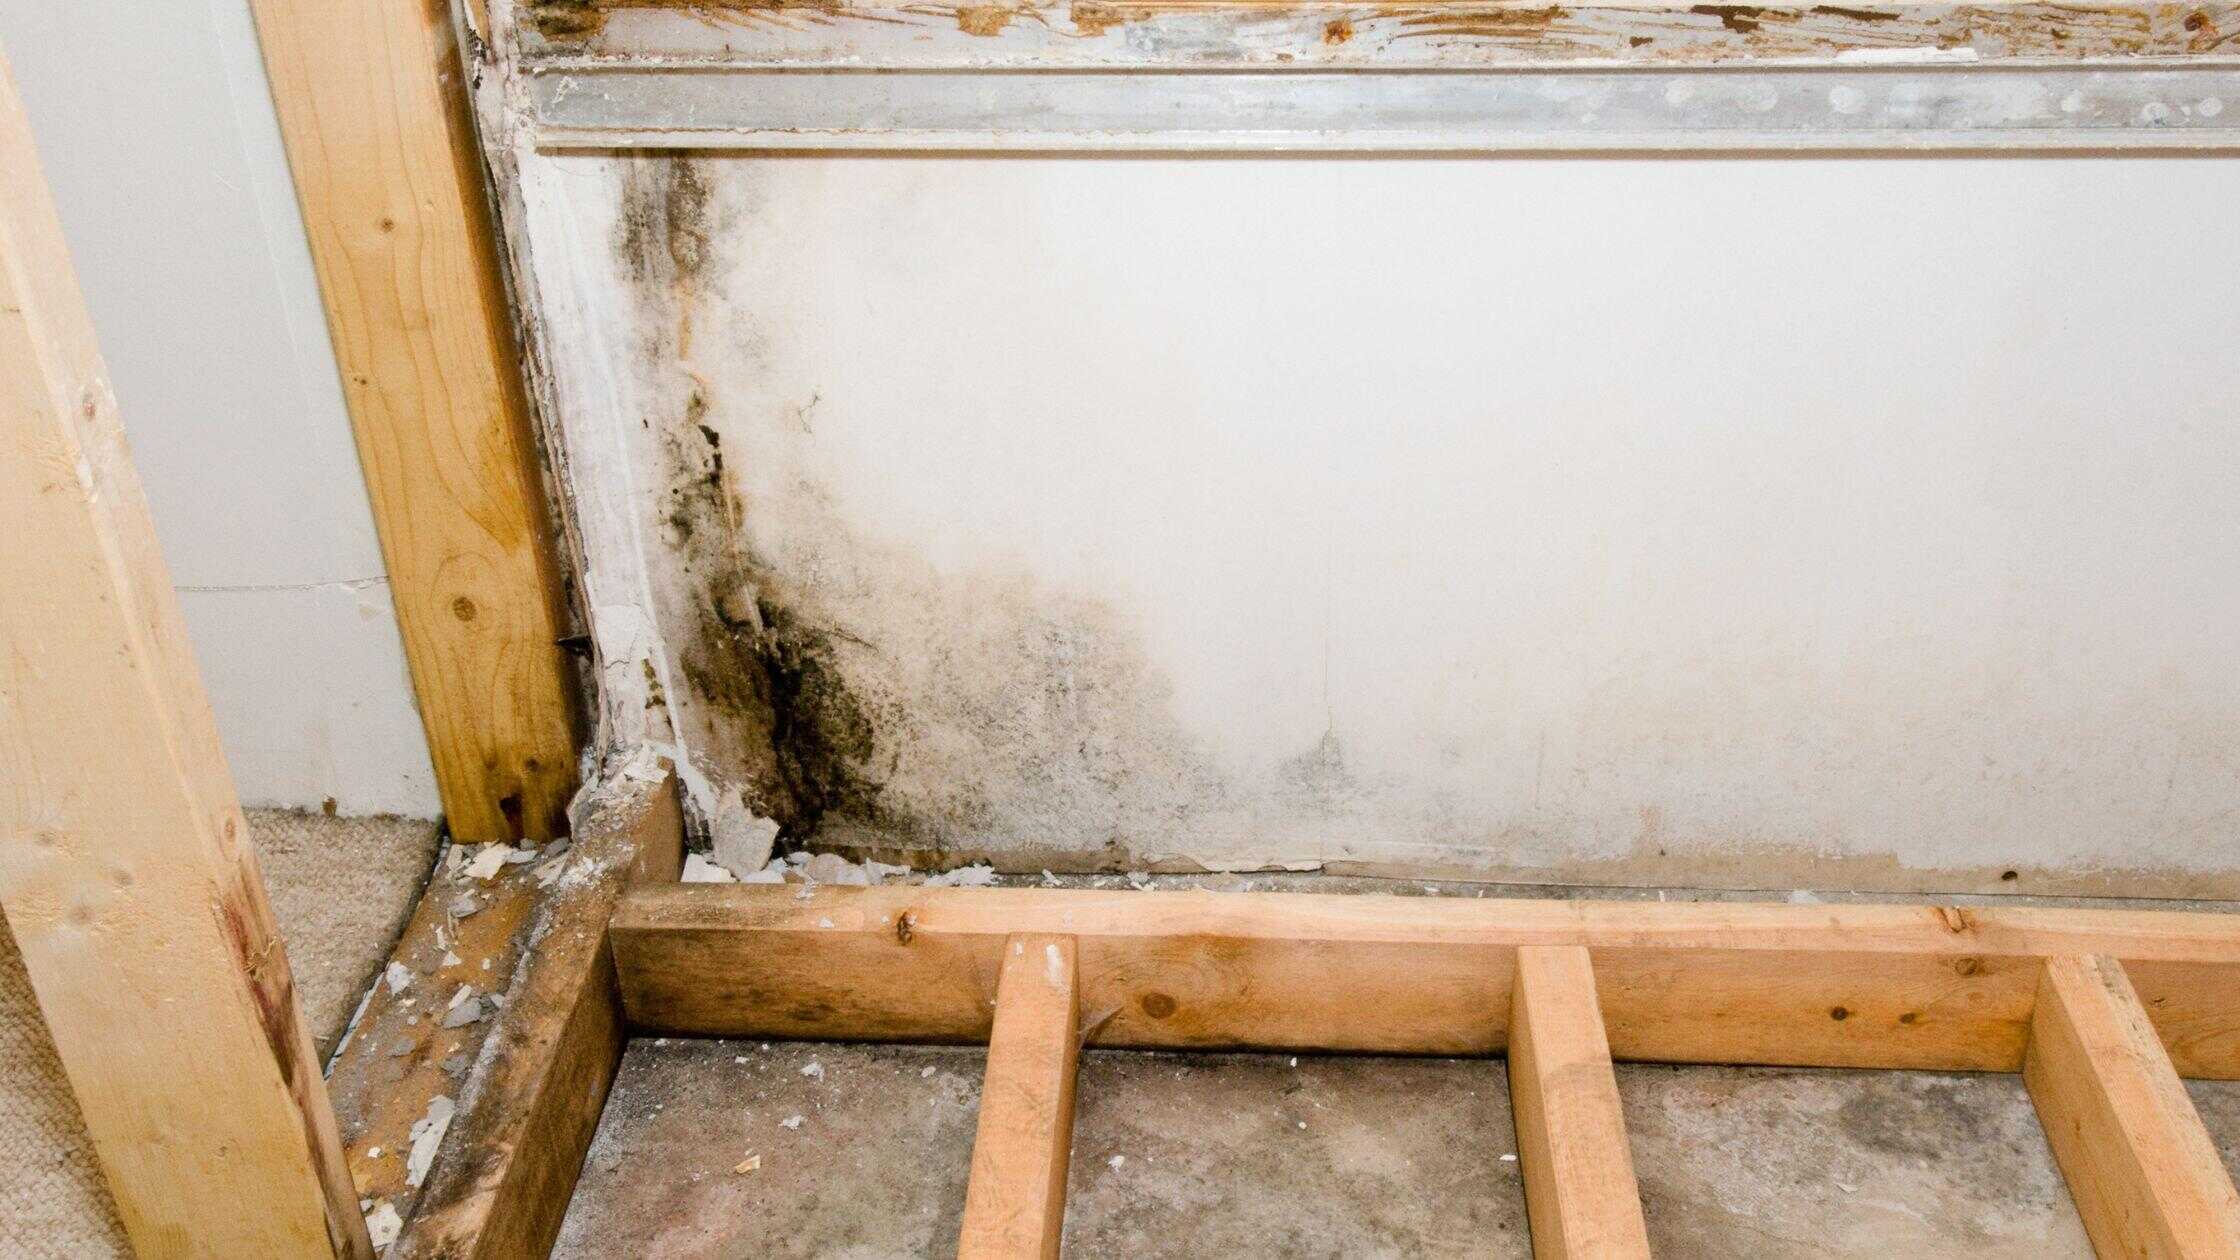
Mold and mildew growth requires moisture, an organic food source, and a warm environment. A shower wall cavity provides all three if water penetrates through the tile layer. Wood framing, paper-faced drywall, and organic binders in construction materials all support mold growth when they stay wet. A properly waterproofed shower eliminates the moisture component by keeping water on the tile side of the membrane rather than allowing it to reach those materials.
Mold growth that develops behind a tile shower is a particularly difficult problem to remediate. The tile and substrate must come off to reach the affected framing and drywall. Depending on how long the moisture problem has persisted, structural framing may need replacement. This sequence of demolition, remediation, framing repair, and complete reinstallation represents exactly the kind of costly repairs that proper waterproofing prevents from the start.
Mildew growth on the grout surface is a separate issue from structural mold behind the wall. Surface mildew is a maintenance matter that cleaning addresses. Hidden mold in the wall cavity is a health and structural issue that requires professional remediation. The distinction matters because surface-clean grout can coexist with serious hidden mold and mildew growth if the waterproofing layer failed at installation.
Is DIY Waterproofing a Good Idea for a Shower Remodel?
DIY waterproofing is possible in theory, and products are available at home improvement stores for homeowners who want to attempt it. In practice, it is a bad idea for most people tackling a shower remodel without professional experience. The reason is not the complexity of any single step but the cumulative effect of small errors that are invisible until significant damage has already occurred.
The most common DIY waterproofing failures include:
- Insufficient coverage at corners and seams, creating hairline gaps that allow slow water penetration
- Pan liner installation that does not fully integrate with the drain flange, allowing water to bypass the membrane at the lowest point
- Backer board joints that are not properly taped before the membrane goes on, leaving structural movement points unprotected
- Liquid membrane applied too thin because the applicator does not recognize inadequate coverage
- Penetrations around plumbing fixtures sealed with the wrong product or not sealed at all
Each of these mistakes costs nothing extra in the moment. The consequences show up one to five years later when water damage becomes apparent. A professional contractor who handles waterproofing showers regularly knows where failures happen, how to avoid them, and how to verify the system before the tile goes on. That experience is difficult to replicate from a how-to article, even for a competent DIYer.
For a complete look at where shower conversions go wrong and how to avoid the most common problems, the 7 costly tub-to-shower conversion mistakes guide covers the full list, with waterproofing errors as a central focus.
Which Waterproofing System Is the Best Choice for a Shower?
There is no single best system for every shower remodel. The right choice depends on the substrate, the tile format, the shower configuration, and the contractor’s preferred installation method. What matters most is that the system is applied correctly, covers all critical areas without gaps, and integrates properly at the floor, drain, corners, and any penetrations.
A general framework for selecting a system:
- For a standard alcove shower with a prefabricated shower pan, a liquid waterproofing membrane on cement board walls is a reliable and proven approach
- For a custom tile shower floor with a mortar bed, a hot mop or CPE pan liner provides the most durable base waterproofing for the floor
- For a fully custom walk-in shower with a complex layout, an integrated foam backer board and sheet membrane system provides comprehensive coverage across every surface
- For any system, epoxy grout over the tile layer provides an additional surface defense against moisture penetration through the finished surface
Quick tip: Ask any contractor you are evaluating to describe their waterproofing process in detail, including which system they use, how they handle corners and seams, and how they waterproof around plumbing penetrations. A contractor who cannot answer specifically is a contractor whose waterproofing process deserves scrutiny.
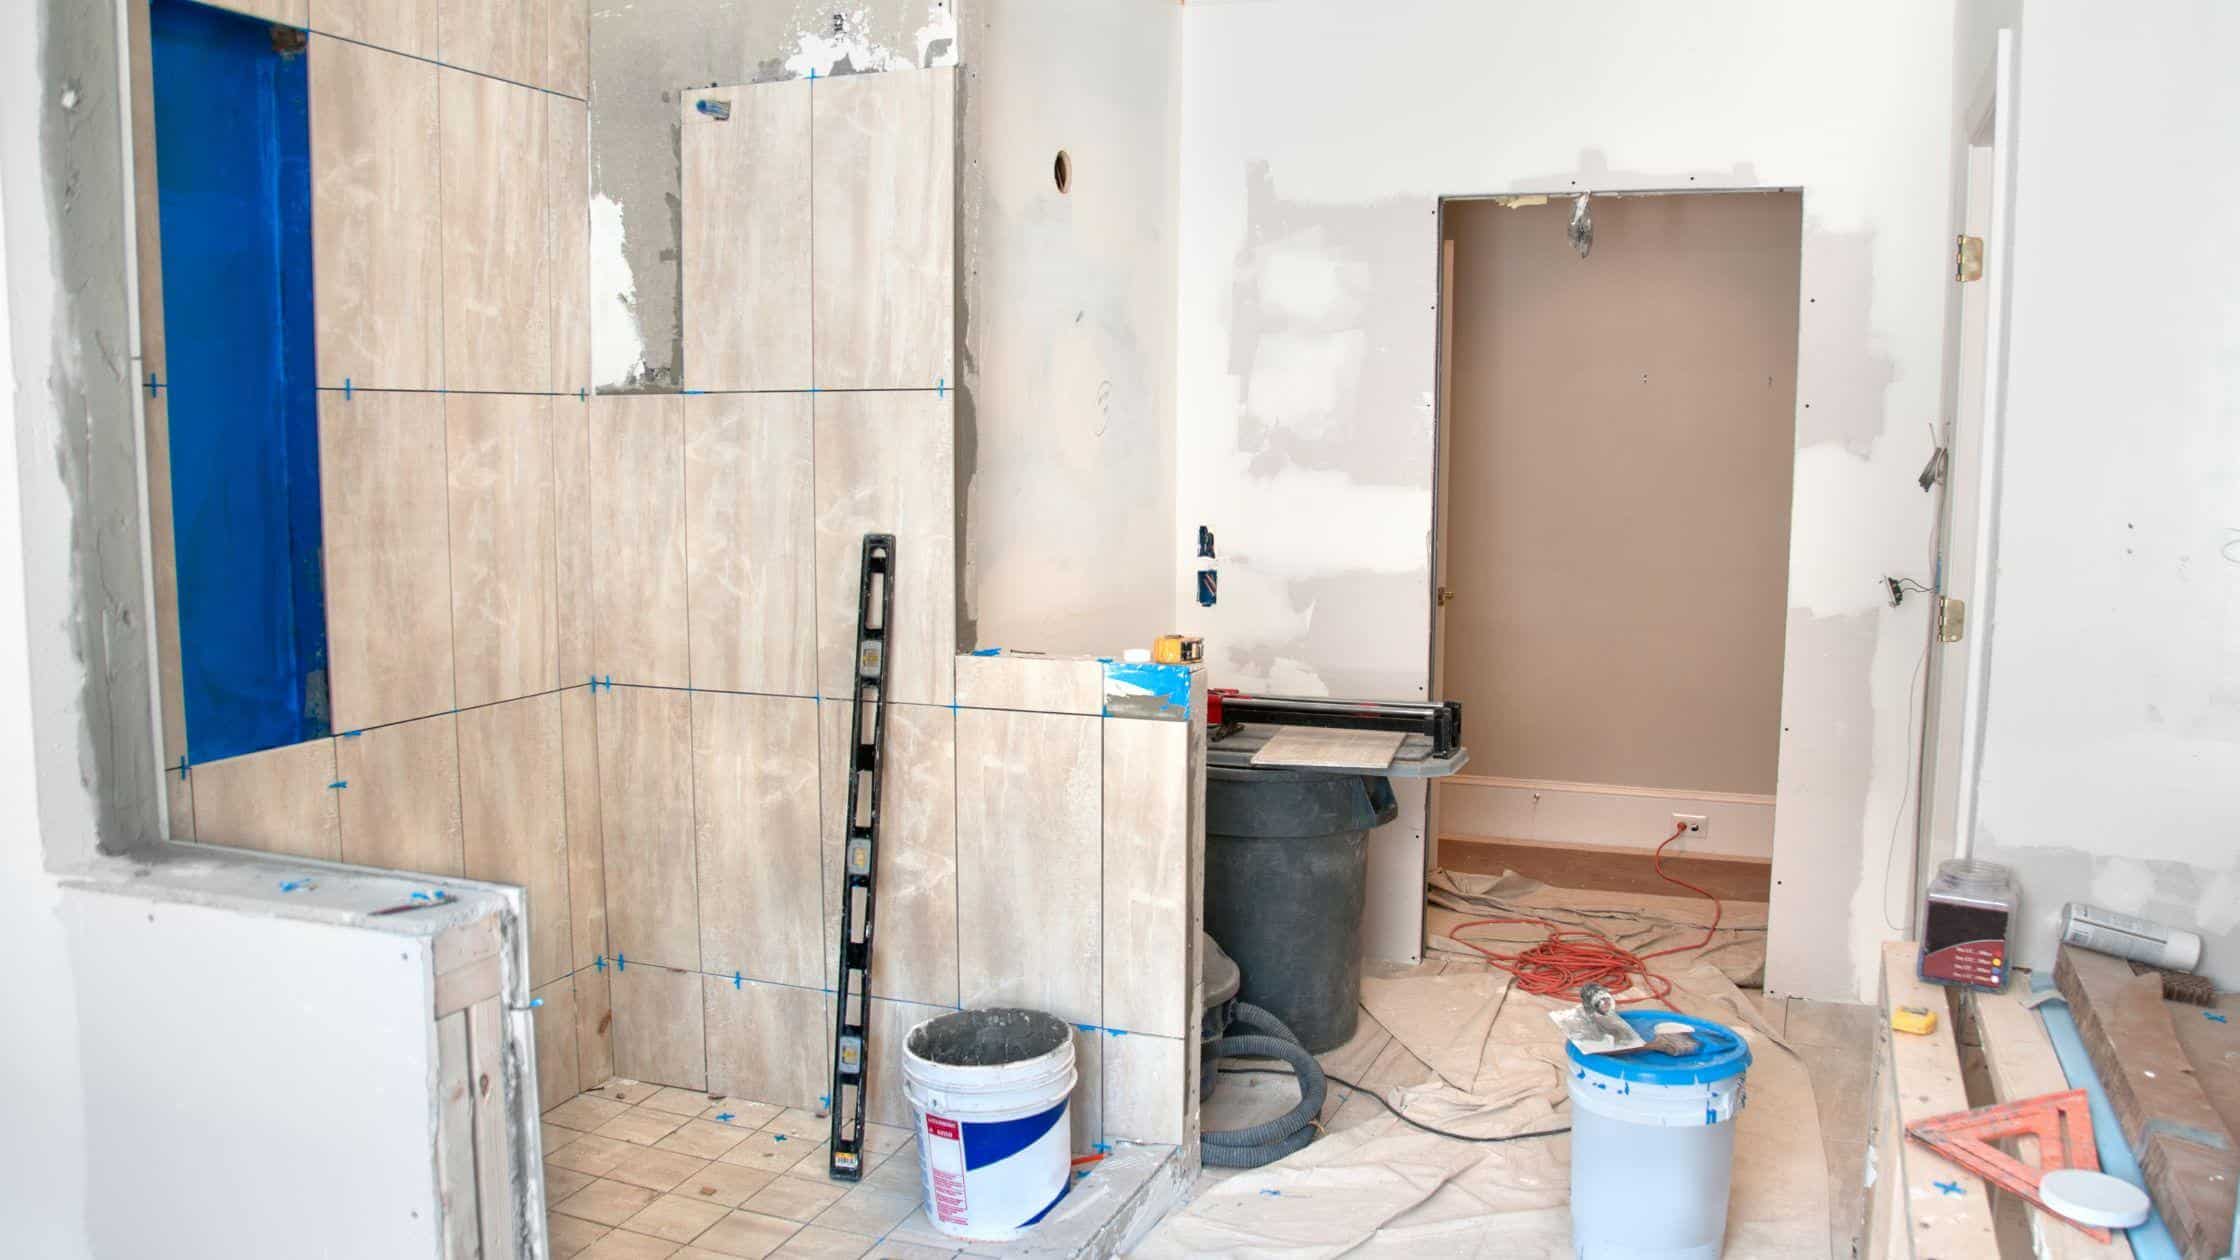
How Does Waterproofing Fit Into the Broader Bathroom Remodel Process?
In a full bathroom remodel or tub-to-shower conversion, waterproofing happens in the middle of the construction sequence, after the framing and rough plumbing are set and before the tile goes in. It is not a finishing step and not a preparatory one. It is a structural one, in the sense that what happens at this stage determines whether everything that follows performs correctly.
The sequence in a professional installation typically runs as follows: demolition of the existing tub and surround, framing inspection and any repairs, backer board installation, waterproofing membrane application, curing time for the membrane, tile installation, and final grouting and caulking. Each stage depends on the previous one being done correctly. A contractor who understands this sequence will not rush the waterproofing phase to save time on the schedule.
For homeowners in Butler and Pittsburgh planning a tub-to-shower conversion, the step-by-step tub-to-shower conversion process overview explains what to expect at each stage of the project, including how long waterproofing takes and what the installation looks like before tile covers it.
Frequently Asked Questions About Waterproofing Shower Remodel
Do you need to waterproof the entire shower wall or just the lower section?
The entire tiled surface of the shower walls needs waterproofing, not just the lower section. Water vapor and steam reach every part of the enclosure, and splash from a showerhead extends well above the water line. Industry standards call for the waterproofing membrane to extend at least 6 inches above the showerhead outlet, which in most showers means coverage up to or above the tile installation height.
How long does a waterproof membrane last in a shower?
A correctly installed waterproof membrane should outlast the tile installation itself, often 20 to 30 years or more. The membrane does not wear out from normal use since it sits protected behind the tile. What causes premature failure is incorrect installation at seams, corners, or penetrations, or physical damage from demolition or impact that compromises the membrane surface.
What is the difference between water-resistant and waterproof in shower applications?
Water-resistant materials slow moisture absorption but do not stop it entirely under prolonged exposure. Waterproof materials block water completely when installed correctly. In a shower, water-resistant products are not sufficient as primary waterproofing because the exposure is constant and direct. The distinction matters most when evaluating backer board options, where cement board and foam board are water-resistant to varying degrees but still require a fully waterproof membrane over them.
Can you add waterproofing to an existing shower without tearing it out?
Meaningful waterproofing requires access to the substrate behind the tile, which means the tile must come off. Surface sealants applied over existing grout and tile offer minimal protection and do not address the substrate level where failures occur. If an existing shower shows signs of water damage, loose tile, soft spots, or persistent mold growth, a full tear-out and reinstallation with proper waterproofing is the correct approach.
How do you know if the waterproofing in your shower has failed?
Common signs of waterproofing failure include tile that moves or sounds hollow when tapped, grout that cracks and crumbles repeatedly, caulk that separates at corners or the tub-to-wall joint, musty odors in or around the bathroom, staining on the ceiling below a second-floor shower, and soft or springy floor surfaces near the shower area. Any of these signs warrants a professional evaluation before the damage extends further.
Is a hot mop shower pan better than a sheet membrane for the floor?
Hot mop is a traditional method where layers of felt and hot asphalt create a waterproof basin in a mortar-bed shower floor. It is durable, well-proven, and still widely used in California and other markets. Sheet membrane systems like Schluter Kerdi have largely replaced hot mop in many areas because they integrate more cleanly with the wall system and require less specialized equipment. Both methods perform well when installed correctly. The best choice depends on which system the contractor applies most consistently and confidently.
Final Thoughts: Waterproofing Is Where a Shower Remodel Succeeds or Fails
Every element of a shower remodel depends on what happens behind the tile. The fixtures, the grout color, the glass enclosure: all of it rests on a waterproofing layer that most homeowners never see after the project is complete. Getting it right means choosing the correct system for the application, covering all critical areas without gaps, and giving the membrane time to cure before the tile installation begins.
My Bath LLC brings this level of attention to every tub-to-shower conversion in the Butler and Pittsburgh area. If a new shower is on the plan, reach out to discuss the project. The conversation starts with what you want the space to look like and includes everything that needs to happen behind the walls to make it last.